
源码部署DB-GPT,数据库使用mysql,大模型调用ollama
目的是通过开发多模型管理(SMMF)、Text2SQL 效果优化、RAG 框架和优化、Multi-Agents 框架协作、AWEL(代理工作流编排)等多种技术能力,构建大型模型领域的基础设施。这使得包含数据的大型模型应用程序更简单、更方便。
·
🤖 DB-GPT 是一个开源的 AI 原生数据应用程序开发框架,具有 AWEL(代理工作流表达式语言)和代理。
目的是通过开发多模型管理(SMMF)、Text2SQL 效果优化、RAG 框架和优化、Multi-Agents 框架协作、AWEL(代理工作流编排)等多种技术能力,构建大型模型领域的基础设施。这使得包含数据的大型模型应用程序更简单、更方便。
环境要求
| 启动模式 | CPU * 内存 | 图形处理器 | 备注 |
|---|---|---|---|
| 代理模型 | 4C * 8G | 代理模型不依赖 GPU | |
| 本地模型 | 8C * 32G | 24 G | 最好从 24G 或以上的 GPU 开始本地 |
我的基础环境准备:
ubuntu22.04 4核8G 使用的是代理模型部署,因为自己服务器跑不动大模型,这里ollama部署就不说了,有需要的可以下载官方一键安装脚本
ollama官方地址:Ollama
源码部署,使用mysql数据库并连接ollama(折磨了我好几天,总算是搞出来了,docker部署一直跑不起来先用源码部署一下吧)
1、下载源代码
mkdir -p /opt && cd/opt

wget <https://github.com/eosphoros-ai/DB-GPT/archive/refs/tags/v0.6.3.tar.gz>

tar -zxvf  v0.6.3.tar.gz

# 因为官网在0.5.6版本后才允许连接ollama所以本次使用v0.6.3版本进行安装
2、Miniconda 环境安装,通过 conda 虚拟环境安装 Python 虚拟环境
mkdir -p /opt/miniconda3

cd && wget <https://repo.anaconda.com/miniconda/Miniconda3-latest-Linux-x86_64.sh>

mv Miniconda3-latest-Linux-x86_64.sh miniconda.sh

chmod +x miniconda.sh

./miniconda.sh -b -u -p /opt/miniconda3

/opt/miniconda3/bin/conda init bash

source ~/.bashrc
3、将conda的源改为国内源
conda config --set show_channel_urls yes

cat >~/.condarc << EOF
channels:
  - defaults
show_channel_urls: true
default_channels:
  - <https://mirrors.tuna.tsinghua.edu.cn/anaconda/pkgs/main>
  - <https://mirrors.tuna.tsinghua.edu.cn/anaconda/pkgs/r>
  - <https://mirrors.tuna.tsinghua.edu.cn/anaconda/pkgs/msys2>
custom_channels:
  conda-forge: <https://mirrors.tuna.tsinghua.edu.cn/anaconda/cloud>
  msys2: <https://mirrors.tuna.tsinghua.edu.cn/anaconda/cloud>
  bioconda: <https://mirrors.tuna.tsinghua.edu.cn/anaconda/cloud>
  menpo: <https://mirrors.tuna.tsinghua.edu.cn/anaconda/cloud>
  pytorch: <https://mirrors.tuna.tsinghua.edu.cn/anaconda/cloud>
  pytorch-lts: <https://mirrors.tuna.tsinghua.edu.cn/anaconda/cloud>
  simpleitk: <https://mirrors.tuna.tsinghua.edu.cn/anaconda/cloud>
  deepmodeling: <https://mirrors.tuna.tsinghua.edu.cn/anaconda/cloud/>
  EOF


cat >/opt/miniconda3/.condarc << EOF
channels:
  - defaults
show_channel_urls: true
default_channels:
  - <https://mirrors.tuna.tsinghua.edu.cn/anaconda/pkgs/main>
  - <https://mirrors.tuna.tsinghua.edu.cn/anaconda/pkgs/r>
  - <https://mirrors.tuna.tsinghua.edu.cn/anaconda/pkgs/msys2>
custom_channels:
  conda-forge: <https://mirrors.tuna.tsinghua.edu.cn/anaconda/cloud>
  msys2: <https://mirrors.tuna.tsinghua.edu.cn/anaconda/cloud>
  bioconda: <https://mirrors.tuna.tsinghua.edu.cn/anaconda/cloud>
  menpo: <https://mirrors.tuna.tsinghua.edu.cn/anaconda/cloud>
  pytorch: <https://mirrors.tuna.tsinghua.edu.cn/anaconda/cloud>
  pytorch-lts: <https://mirrors.tuna.tsinghua.edu.cn/anaconda/cloud>
  simpleitk: <https://mirrors.tuna.tsinghua.edu.cn/anaconda/cloud>
  deepmodeling: <https://mirrors.tuna.tsinghua.edu.cn/anaconda/cloud/>
  EOF

  # 看的教程说下改/root/.condarc 但是我试了感觉是没用,我是俩个都添加了
4、创建python基本环境
# python >= 3.10

conda create -n dbgpt_env python=3.10

conda activate dbgpt_env

pip config set global.index-url <https://pypi.tuna.tsinghua.edu.cn/simple>
5、模型安装
# 因为我使用的是其他服务器的ollama,如果自己电脑带的动的话,可以按下面步骤操作,前提是要先安装ollama

ollama pull nomic-embed-text

ollama pull qwen2:7b

#如果使用外部的ollama,可以跳过这俩个直接执行下面的
#然后本地也得下载一个语音文本模型放到目录中

<https://hf-mirror.com/GanymedeNil/text2vec-large-chinese>  #这个是其的git地址

mkdir /opt/DB-GPT-0.6.3/models

cd  /opt/DB-GPT-0.6.3/models

git lfs install

git clone <https://hf-mirror.com/GanymedeNil/text2vec-large-chinese>

# 如果觉得慢,也可以直接去网站下载之后将文件上传至服务器/opt/DB-GPT-0.6.3/models 此目录下
6、DB-GPT基础环境编译
# 说是编译其实是下载DB-GPT启动的py文件所需要的python依赖包

cd /opt/DB-GPT-0.6.3

pip install -e ".[default]"

# 在这会遇到pip install -e ".[default]" 无法安装的问题可以通过启动命令让服务报出缺少那个依赖包后再进行单独安装
# 文档是这样写的但是经我试下来 执行报错之后只需要安装一下这个 pip install torch,继续执行就好了pip install -e ".[default]"
7、数据库安装
# 安装mysql8数据库就可以了,这里省略,如果有建好的数据库也可以用

# 数据库表数据导入
mysql -u root -p

create database dbgpt

mysql  -uroot -p < ./assets/schema/dbgpt.sql

# 也可以使用navicat连接数据库建库导入sql,看大家怎么方便怎么来吧
8、配置文件编写
#将配置文件复制并修改为生效配置文件

cd cd /opt/DB-GPT-0.6.3 && cp .env.template .env

cat >.env << EOF

#*******************************************************************#
#**                         LLM MODELS                            **#
#*******************************************************************#
LLM_MODEL=ollama_proxyllm
PROXY_SERVER_URL=http://2.22.78.62:11434
PROXYLLM_BACKEND="deepseek-r1:32b"
PROXY_API_KEY=not_used
EMBEDDING_MODEL=proxy_ollama
proxy_ollama_proxy_server_url=http://2.22.78.62:11434
proxy_ollama_proxy_backend="nomic-embed-text:latest"

MODEL_SERVER=http://192.168.66.20:8000
LIMIT_MODEL_CONCURRENCY=5
MAX_POSITION_EMBEDDINGS=4096
QUANTIZE_QLORA=True
QUANTIZE_8bit=True


#数据库部分
#*******************************************************************#
#**                  DB-GPT METADATA DATABASE SETTINGS            **#
#*******************************************************************#
### SQLite database (Current default database)
#LOCAL_DB_TYPE=sqlite

### MYSQL database
LOCAL_DB_TYPE=mysql
LOCAL_DB_USER=root
LOCAL_DB_PASSWORD=xxxxxx
LOCAL_DB_HOST=127.0.0.1
LOCAL_DB_PORT=3306
LOCAL_DB_NAME=dbgpt
EOF
9、启动dbgpt
python dbgpt/app/dbgpt_server.py
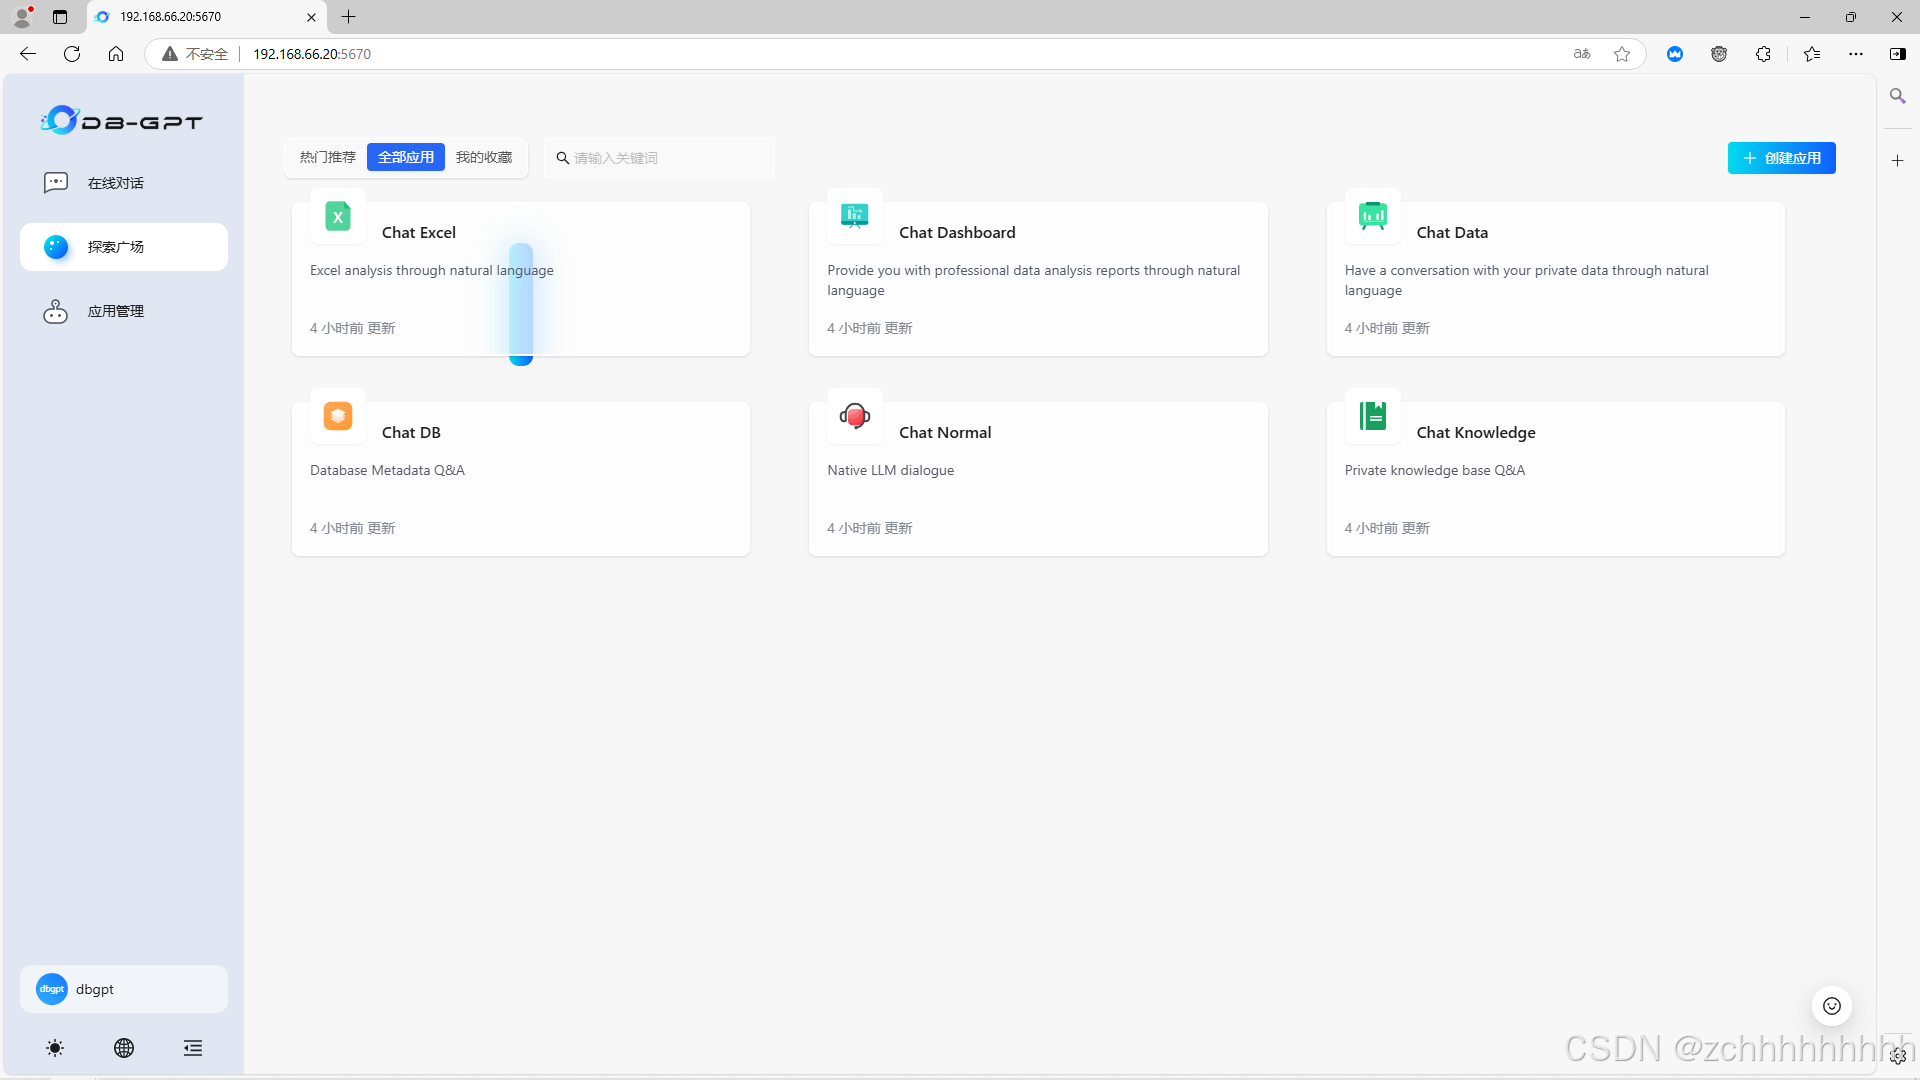
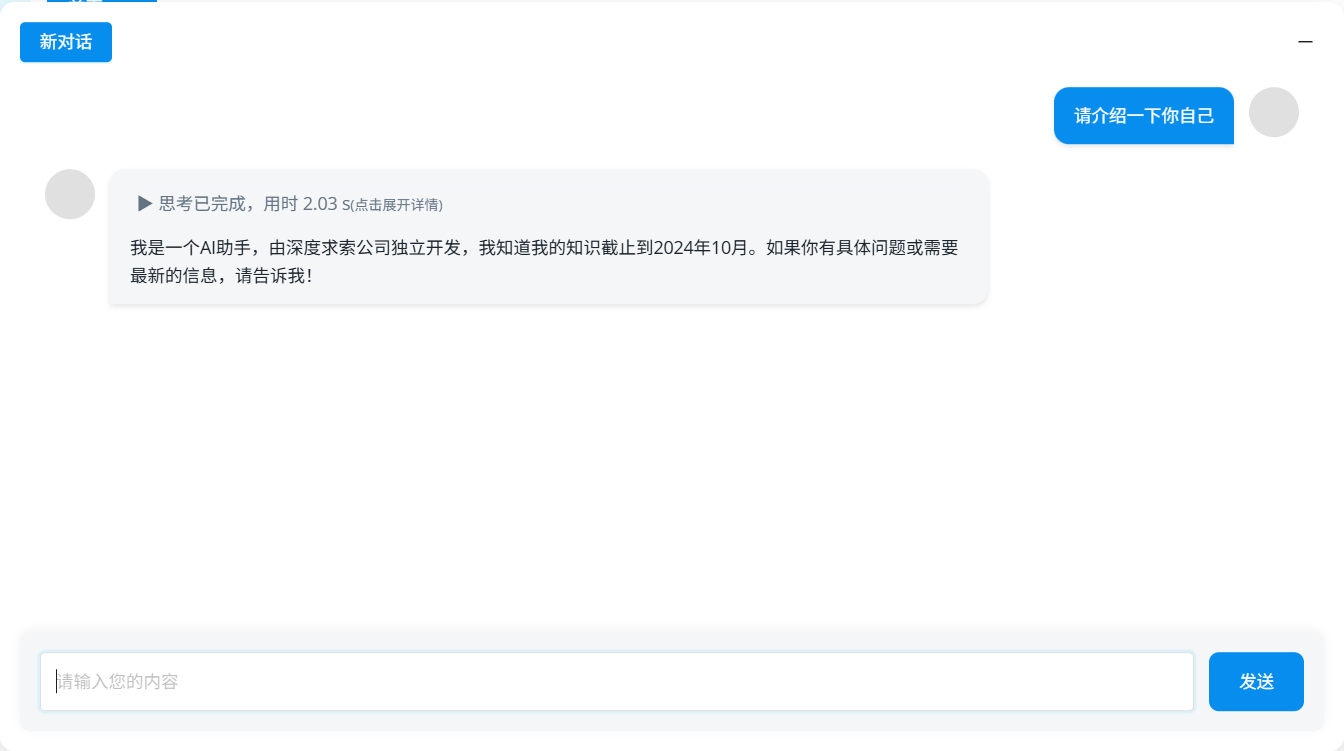
10、访问验证ip+5670端口

在这里,我们一起交流AI,学习AI,用AI改变世界。如有AI产品需求,可访问讯飞开放平台,www.xfyun.cn。
更多推荐

 4
4 0
0- 0


 已为社区贡献1条内容

所有评论(0)