
vue3腾讯云直播 前端推流
2、vue文件中,添加video推流(我用的推流地址是webrtc)3、推流成功后,会在腾讯云控制台的流管理中看到。1、在index.html文件中引入(
·
1、在index.html文件中引入(在body体中)
<script src="https://video.sdk.qcloudecdn.com/web/TXLivePusher-2.1.1.min.js" charset="utf-8"></script>2、vue文件中,添加video推流(我用的推流地址是webrtc)
<template>
<div
id="local_video"
ref="local_video"
style="width: 100%; height: 500px; display: flex; align-items: center; justify-content: center"
></div>
</template>
<script setup>
import { ref, onMounted, onUnmounted } from 'vue';
const local_video = ref();
onMounted(async () => {
const livePusher = new TXLivePusher();
livePusher.setRenderView('local_video');
livePusher.videoView.muted = true;
// // 设置视频质量
livePusher.setVideoQuality('720p');
// // 设置音频质量
livePusher.setAudioQuality('standard');
// // 自定义设置帧率
livePusher.setProperty('setVideoFPS', 25);
// 采集完摄像头和麦克风之后自动推流
Promise.all([livePusher.startCamera(), livePusher.startMicrophone()]).then(function () {
livePusher.startPush('webrtc://232666.push.tlivecloud.com/live/live?txSecret=872632423847ksjdfkjdshh89327489327171&txTime=827436728');
});
});
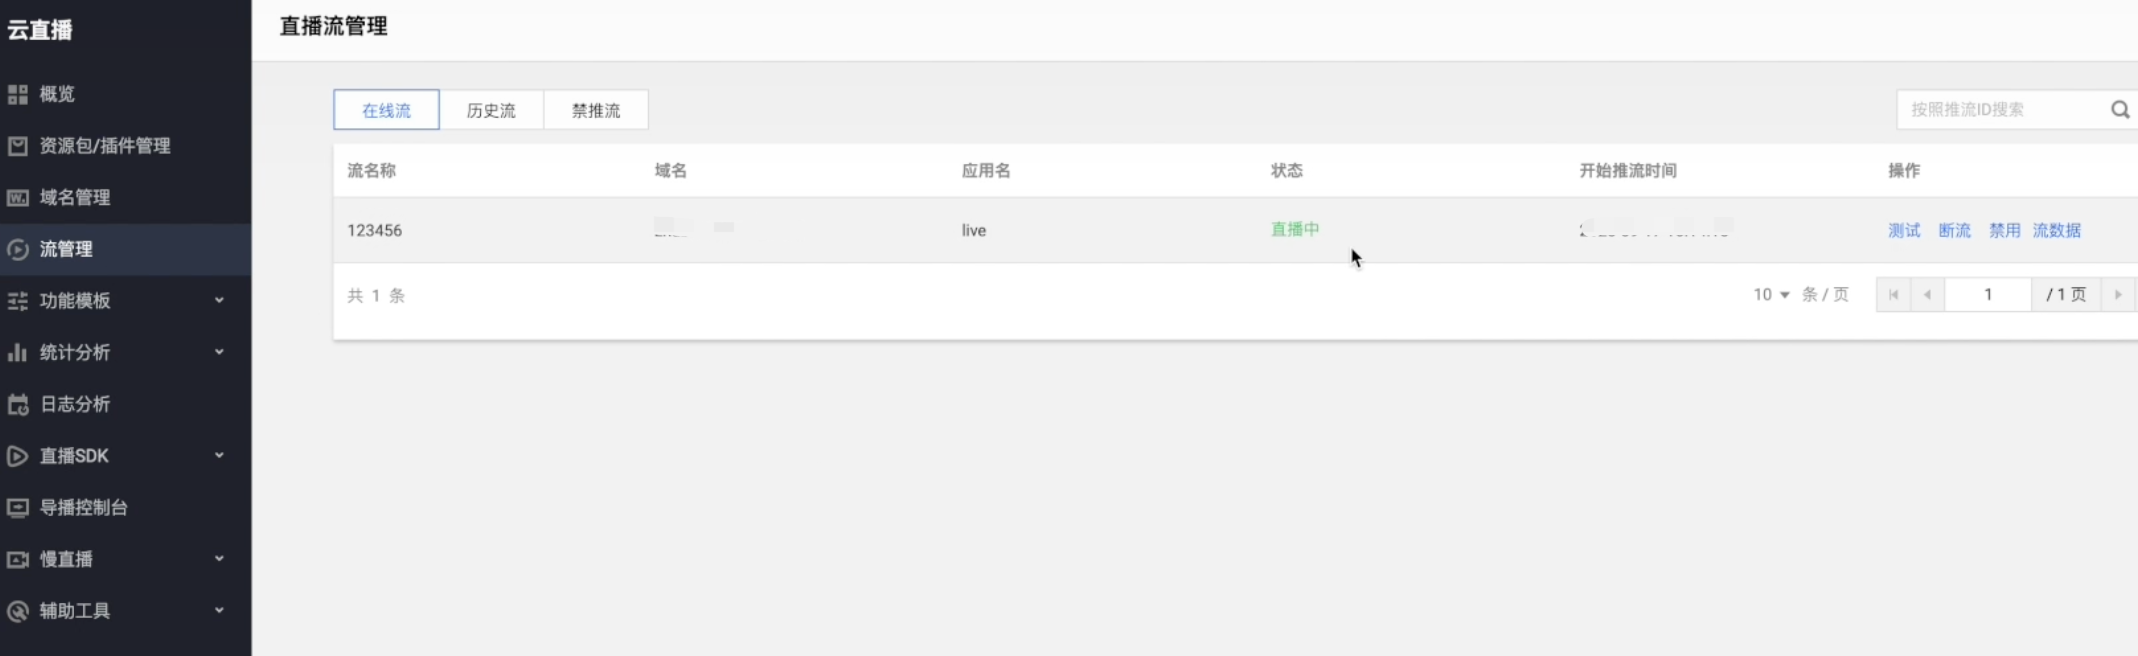
</script>3、推流成功后,会在腾讯云控制台的流管理中看到

技术共进,成长同行——讯飞AI开发者社区
更多推荐


 9
9 0
0- 0


 已为社区贡献3条内容

所有评论(0)