
[Vue] 前端路由UmiJs快速上手
文章目录1.npm下载2.构建一个脚手架3.启动项目4.修改配置5.部署发布1.npm下载# 国内源$ npm i yarn tyarn -g# 后面文档里的 yarn 换成 tyarn$ tyarn -v# 阿里内网源$ tnpm i yarn @ali/yarn -g# 后面文档里的 yarn 换成 ayarn$ ayarn -v2.构建一个脚手架先找个地方建个空目录。$ mkdir myap
·
1.npm下载
# 国内源
$ npm i yarn tyarn -g
# 后面文档里的 yarn 换成 tyarn
$ tyarn -v

# 阿里内网源
$ tnpm i yarn @ali/yarn -g
# 后面文档里的 yarn 换成 ayarn
$ ayarn -v
2.构建一个脚手架
先找个地方建个空目录。
$ mkdir myapp && cd myapp
通过官方工具创建项目,
$ yarn create @umijs/umi-app
# 或 npx @umijs/create-umi-app

Copy:  .editorconfig
Write: .gitignore
Copy:  .prettierignore
Copy:  .prettierrc
Write: .umirc.ts
Copy:  mock/.gitkeep
Write: package.json
Copy:  README.md
Copy:  src/pages/index.less
Copy:  src/pages/index.tsx
Copy:  tsconfig.json
Copy:  typings.d.ts
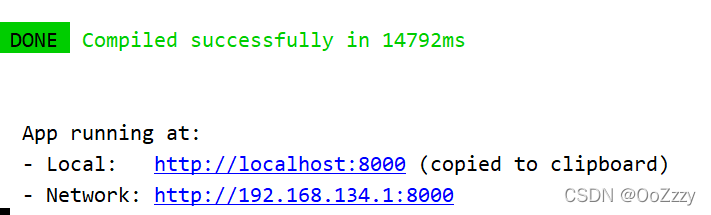
3.启动项目
$ yarn start
Starting the development server...
✔ Webpack
Compiled successfully in 17.84s
DONE Compiled successfully in 17842ms 8:06:31 PM
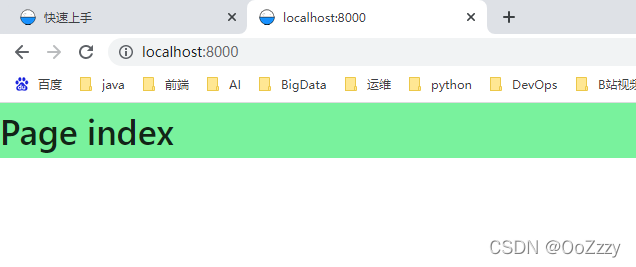
App running at:
- Local: http://localhost:8000 (copied to clipboard)
- Network: http://192.168.12.34:8000
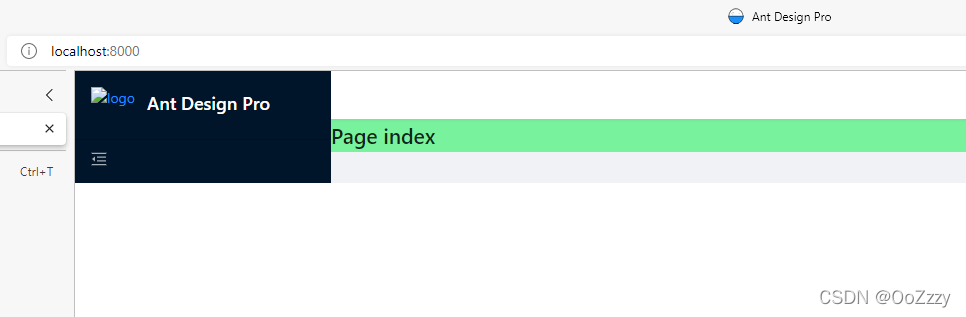
4.修改配置
默认的脚手架内置了 @umijs/preset-react,包含布局、权限、国际化、dva、简易数据流等常用功能。比如想要 ant-design-pro 的布局,编辑 .umirc.ts 配置 layout: {},并且需要安装 @ant-design/pro-layout。
import { defineConfig } from 'umi';

export default defineConfig({
  layout: {
    name: 'Ant Design Pro',
    logo: 'https://preview.pro.ant.design/static/logo.f0355d39.svg',
    // copy from pro site
    navTheme: 'dark',
    primaryColor: '#1890ff',
    layout: 'sidemenu',
    contentWidth: 'Fluid',
    fixedHeader: false,
    fixSiderbar: false,
    title: 'Ant Design Pro',
    pwa: false,
    iconfontUrl: '',
  },
  nodeModulesTransform: {
    type: 'none',
  },
  routes: [
    { path: '/', component: '@/pages/index' },
  ],
  fastRefresh: {},
});
5.部署发布
构建
$ yarn build

✔ Webpack
  Compiled successfully in 17.17s

 DONE  Compiled successfully in 17167ms                                       8:26:25 PM

Build success.
✨  Done in 20.79s.
构建产物默认生成到 ./dist 下,然后通过 tree 命令查看,
tree ./dist

./dist
├── index.html
├── umi.css
└── umi.js
本地验证
发布之前,可以通过 serve 做本地验证,
$ yarn global add serve
$ serve ./dist

   ┌────────────────────────────────────────────────────┐
   │                                                    │
   │   Serving!                                         │
   │                                                    │
   │   - Local:            http://localhost:5000        │
   │   - On Your Network:  http://192.168.12.34:5000    │
   │                                                    │
   │   Copied local address to clipboard!               │
   │                                                    │
   └────────────────────────────────────────────────────┘
访问 http://localhost:5000,正常情况下应该是和执行 yarn start 时是一致的。
部署
本地验证完,就可以部署了。你需要把 dist 目录部署到服务器上。

技术共进,成长同行——讯飞AI开发者社区
更多推荐
 0
0 0
0- 0


 已为社区贡献5条内容

所有评论(0)