
微信小程序 微信同声传译和微信OCR识别
微信小程序开发者可以使用微信提供的OCR接口来实现图像文字识别功能,但也有一些开发者使用的是第三方或是自有的OCR接口,如金鸣识别等。具体来说,微信小程序可以通过使用wx.request函数来发送HTTP请求,将待识别的图片数据上传到微信服务器进行处理。duration:指定录音的时长,单位ms,Number类型,默认值为60000,最大为60000。lang:识别的语言,String类型,默认值
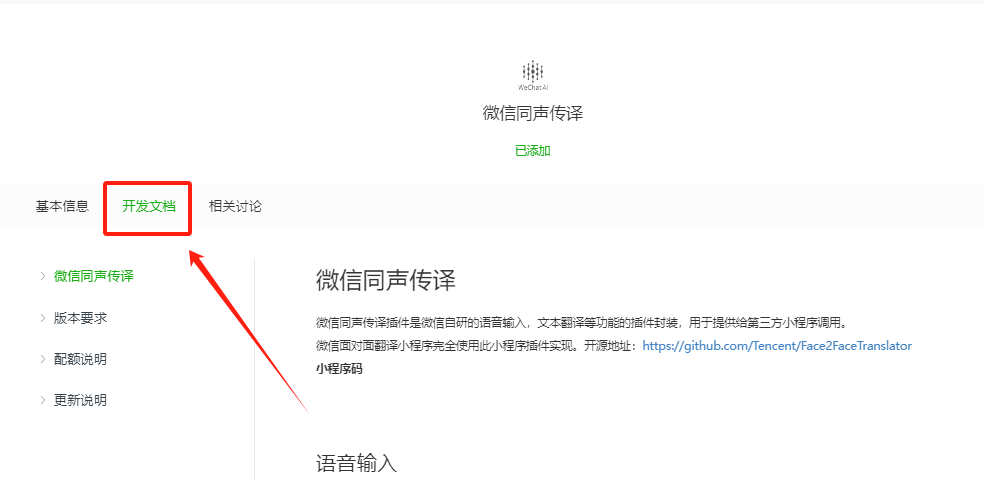
1. 微信同声传译
微信同声传译https://developers.weixin.qq.com/miniprogram/dev/platform-capabilities/extended/translator.html
1.1. 接入流程:
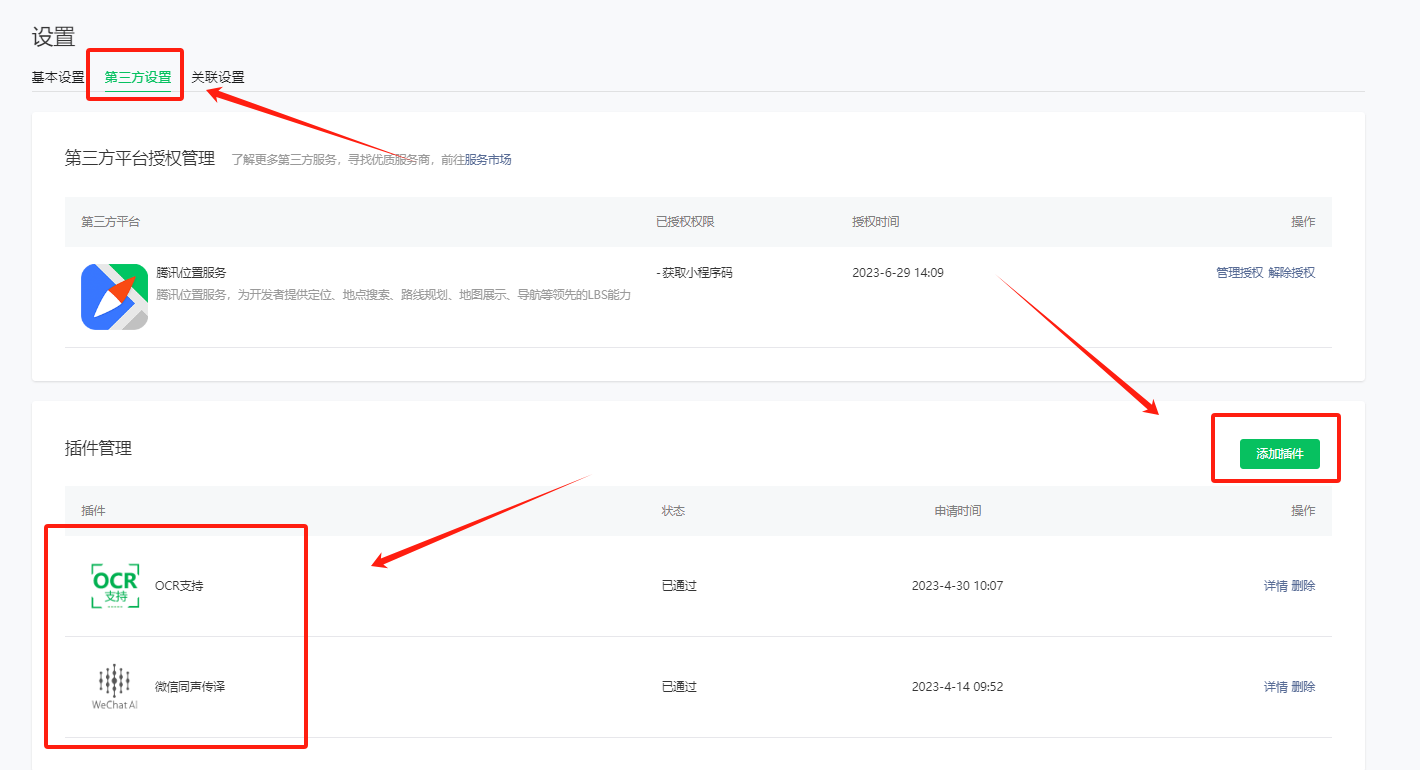
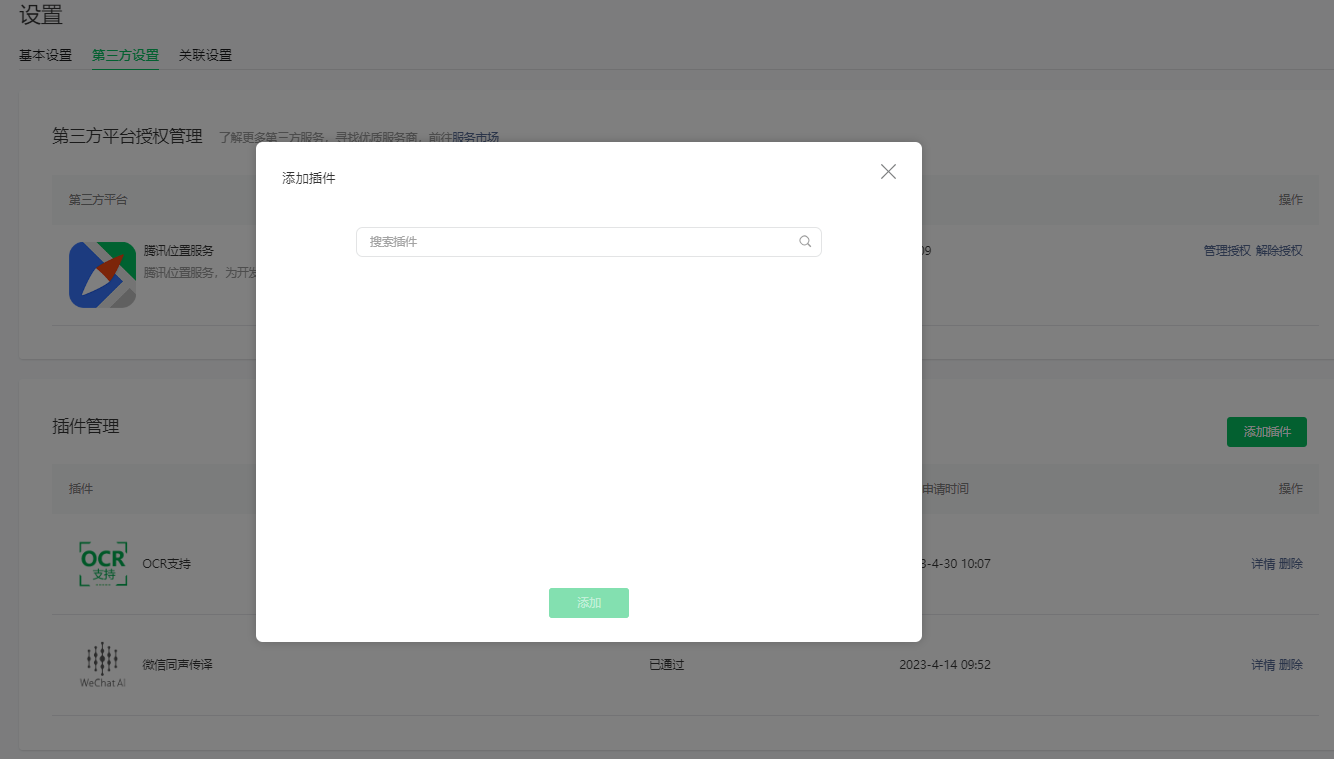
账号设置 -> 第三方设置 -> 添加插件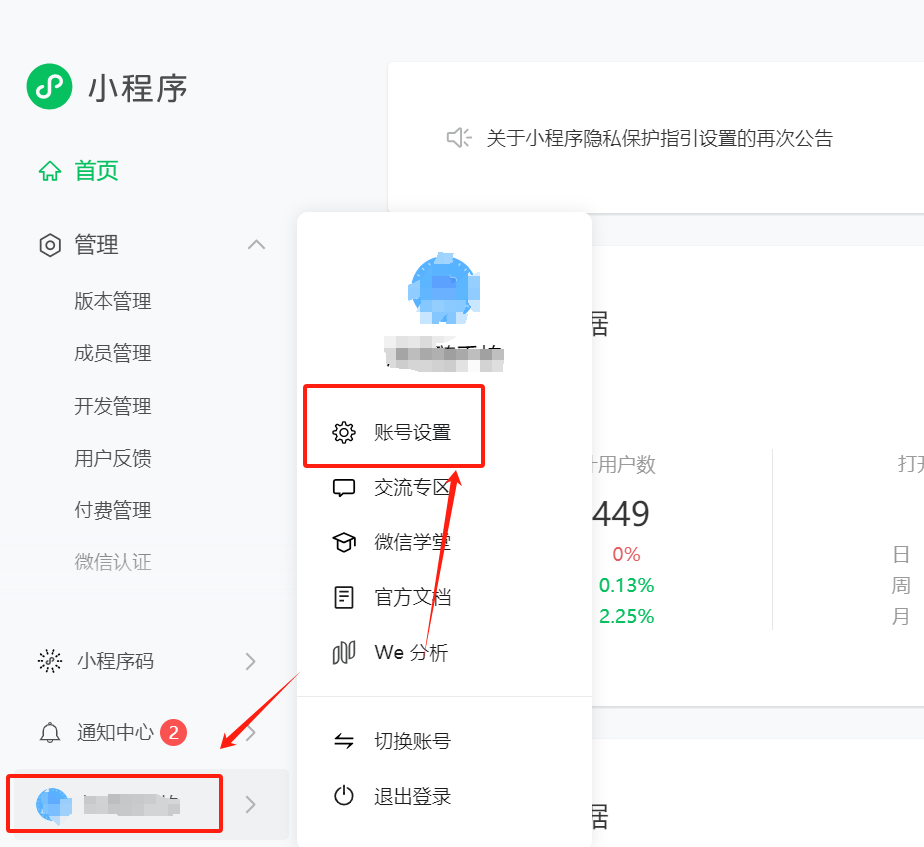
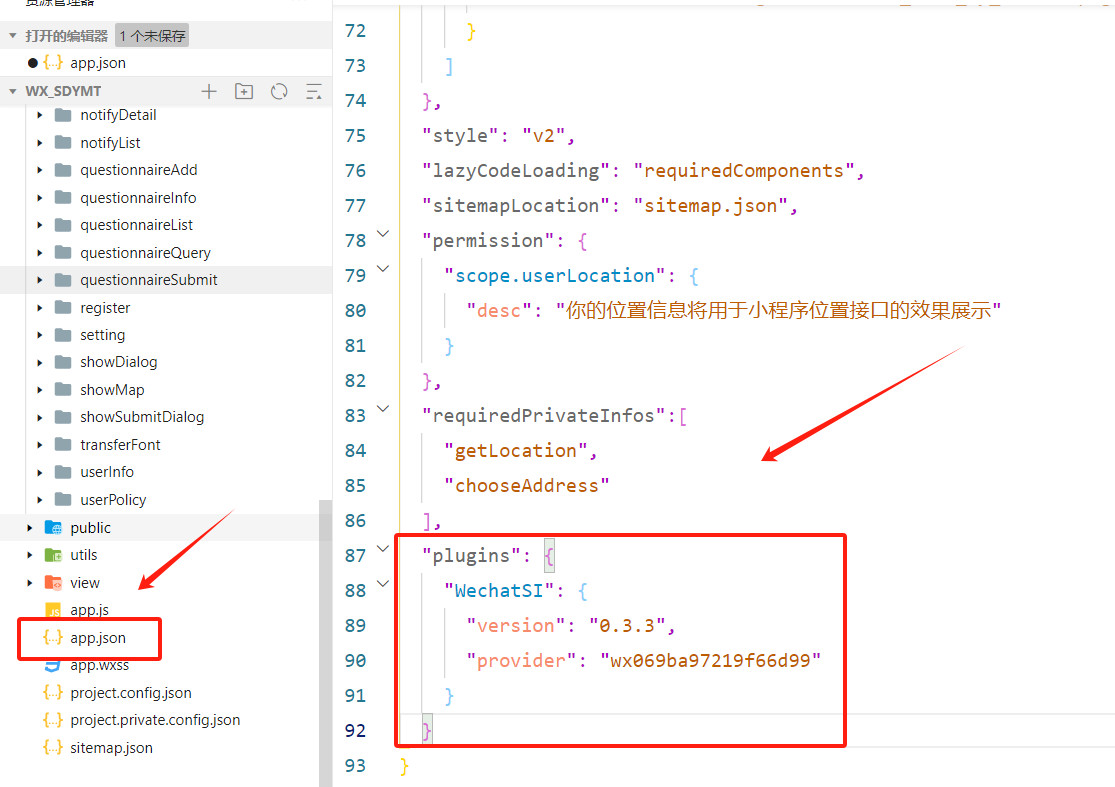
1.2. 配置
去app.json进行配置,与window同级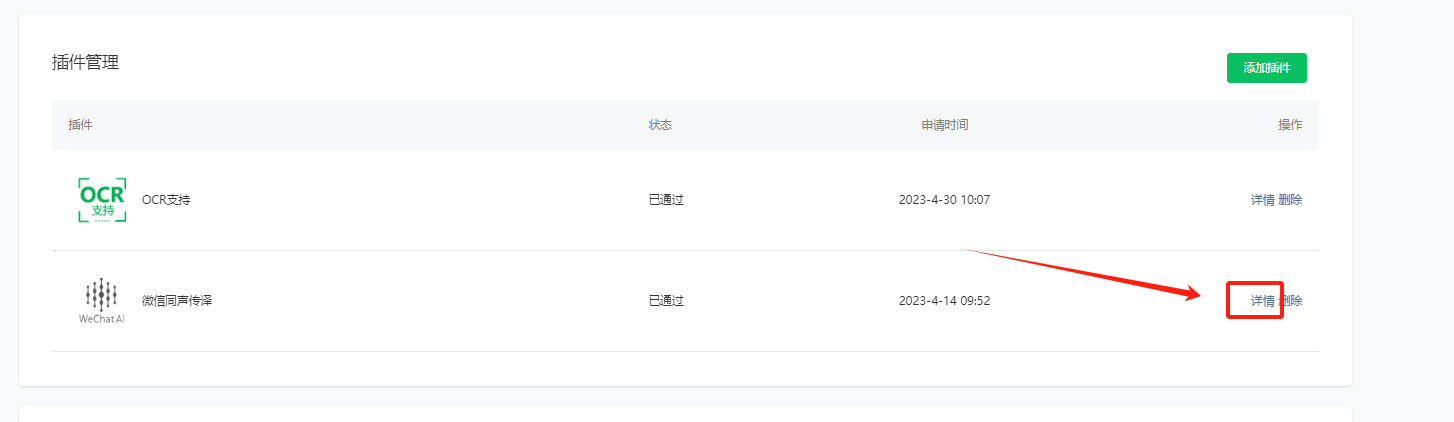
"plugins": {
    "WechatSI": {
      "version": "0.3.5",
      "provider": "wx069ba97219f66d99"
    }
  }
1.3. 语音识别功能
提供语音的实时流式识别能力,通过获取全局唯一的语音识别管理器recordRecoManager实现。
recordRecoManager对象的方法
(1)start 开始语音识别
参数说明:
duration:指定录音的时长,单位ms,Number类型,默认值为60000,最大为60000。如果传入了合法的 duration ,在到达指定的 duration 后会自动停止录音。
lang:识别的语言,String类型,默认值zh_CN,目前支持zh_CN en_US zh_HK sichuanhua
(2)stop 结束语音识别
(3)onStart 正常开始录音识别时会调用
回调结果说明:
res:String类型,默认Ok
(4)onRecognize 有新的识别内容返回会调用
回调结果说明:
result:识别结果,String类型
(5)onStop 识别结束监听
回调结果说明:
tempFilePath:录音临时文件地址,String类型;
duration:录音总时长,单位: ms,Number类型;
fileSize:文件大小,单位: B,Number类型;
Result:最终识别结果,String类型。
(6)onError 识别错误监听
回调结果说明:
retcode:错误码,Int类型;
msg:错误信息, String类型
1.4. 代码实现
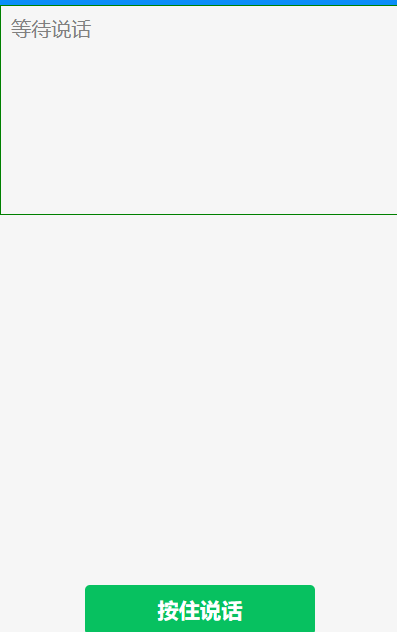
1.4.1. transferFont.wxml
<view class="container-voice">
  <!-- maxlength最大输入长度,设置为-1时不限制最大长度 -->
  <textarea class="content" maxlength="-1" placeholder='等待说话' value="{{content}}" bindinput="conInput"/>
  <!-- <view class="content">识别的内容:{{content}}</view> -->
  <button class="btn" type="primary" bind:touchstart="touchStart" bind:touchend="touchEnd">
    <text wx:if="{{recordState == false}}">按住说话</text>
    <text wx:else>松开结束</text>
  </button>
</view>
1.4.2. transferFont.wxss
page{
  box-sizing: border-box;
  /* 兼容ios<11.2 */
  padding-bottom: constant(safe-area-inset-bottom);  /* 底部安全区域*/
  /* 兼容ios>11.2 */
  padding-bottom: env(safe-area-inset-bottom);
  /* env() 跟 constant() 需要同时存在,而且顺序[先c后e]不能换 */
}
.content{
  width: 100%;
  border: 1rpx solid green;
  padding: 20rpx;
  line-height: 34rpx;
  min-height: 34rpx;
}
.btn{
  position: fixed;
  left: 50%;
  bottom: 0;
  /* ios 适配 */
  bottom: constant(safe-area-inset-bottom);
  bottom: env(safe-area-inset-bottom);
  transform: translateX(-50%);
  margin-top: 20rpx;
}
1.4.3. transferFont.js
//引入插件:微信同声传译
const plugin = requirePlugin('WechatSI');
//获取全局唯一的语音识别管理器recordRecoManager
const manager = plugin.getRecordRecognitionManager();

Page({

  /**
   * 页面的初始数据
   */
  data: {
    //语音
    recordState: false, //录音状态
    content:'',//识别的内容
  },
  /**
   * 生命周期函数--监听页面加载
   */
  onLoad: function (options) {
    console.log('load');
    //识别语音
    this.initRecord();
  },

  onShow(){
    // 获取录音授权
    this.getRecordAuth()
  },

  // 权限询问
  getRecordAuth: function() {
    wx.getSetting({
      success: (res) => {
        if (!res.authSetting['scope.record']) {
          wx.authorize({
            scope: 'scope.record',
            success() {
                // 用户已经同意小程序使用录音功能,后续调用 wx.startRecord 接口不会弹窗询问
                console.log("succ auth")
            }, fail: () => {
                console.log("fail auth")
                this.userAuthFail('scope.record', '请授权录音服务,用于获取语音识别').then(authRecordRes => {
                  console.log(authRecordRes);
                }).catch(authRecordErr => {
                  console.log(authRecordErr);
                  wx.showToast({
                    title: authRecordErr,
                    icon: 'none',
                    duration: 2000,
                  })
                })
            }
          })
        } else {
          console.log("record has been authed")
        }
      }, fail(res) {
          console.log("fail")
          console.log(res)
      }
    })
  },

    /**
  * 用户拒绝授权
  * @param {string} scope 需授权的权限
  * @param {string} tip 权限对应的提示
  */
  userAuthFail(scope, tip) {
    return new Promise((resolve, reject) => {
      wx.showModal({
        title: '提示',
        content: tip,
        confirmText: '去授权',
        cancelText: '不授权',
        success(res) {
          if (res.confirm) {
            wx.openSetting({
              success: (res) => {
                resolve(res.authSetting[scope])
              }
            })
          }
          if (res.cancel) {
            reject('您拒绝了授权')
          }
        },
      })
    })
  },

  // 手动输入内容
  conInput: function (e) {
    this.setData({
      content:e.detail.value,
    })
  },
  //识别语音 -- 初始化
  initRecord: function () {
    const that = this;
    // 有新的识别内容返回,则会调用此事件
    manager.onRecognize = function (res) {
      console.log(res)
      if (res.result === '') return
      const text = that.data.content + res.result
      that.setData({
        content: text
      })
    }
    // 正常开始录音识别时会调用此事件
    manager.onStart = function (res) {
      console.log("成功开始识别", res)
    }
    // 识别错误事件
    manager.onError = function (res) {
      console.error("error msg", res)
    }
    //识别结束事件
    manager.onStop = function (res) {
      console.log('------结束-------')
      console.log(res);
      console.log('录音临时文件地址 -->' + res.tempFilePath);
      console.log('录音总时长 -->' + res.duration + 'ms');
      console.log('文件大小 --> ' + res.fileSize + 'B');
      console.log('语音内容 --> ' + res.result);
      if (res.result == '') {
        that.playTextToVoice('我没有听清楚,请重新说一遍!')
        return;
      }
      var text = that.data.content + res.result;
      that.setData({
        content: text
      })
    }
  },
  //语音  --按住说话
  touchStart: function (e) {
    console.log('start');
    this.setData({
      recordState: true  //录音状态
    })
    // 语音开始识别
    manager.start({
      lang: 'zh_CN',// 识别的语言,目前支持zh_CN en_US zh_HK sichuanhua
    })
  },
  //语音  --松开结束
  touchEnd: function (e) {
    console.log('end');
    this.setData({
      recordState: false
    })
    // 语音结束识别
    manager.stop();
  },
})
2. 微信OCR识别
微信小程序的OCR图像文字识别功能实际上是通过调用微信开放平台提供的API实现的。微信小程序开发者可以使用微信提供的OCR接口来实现图像文字识别功能,但也有一些开发者使用的是第三方或是自有的OCR接口,如金鸣识别等。具体来说,微信小程序可以通过使用wx.request函数来发送HTTP请求,将待识别的图片数据上传到微信服务器进行处理。微信服务器会将图像进行处理,并返回识别出的文字结果。开发者可以通过回调函数获取返回的识别结果,然后在小程序中进行展示或自定义处理
2.1. 接入流程:
账号设置 -> 第三方设置 -> 添加插件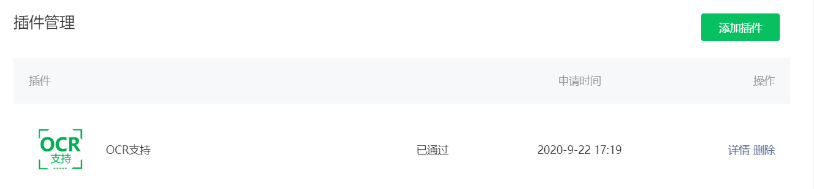
2.2. 实践流程
(1)微信小程序内添加插件配置, 把ocr插件配置到小程序内部
(2)购买插件识别次数的容量, 100次/天 免费但是也需要进行购买, 不用真正付款.如果不买调用会出错 ,微信OCR识别入口。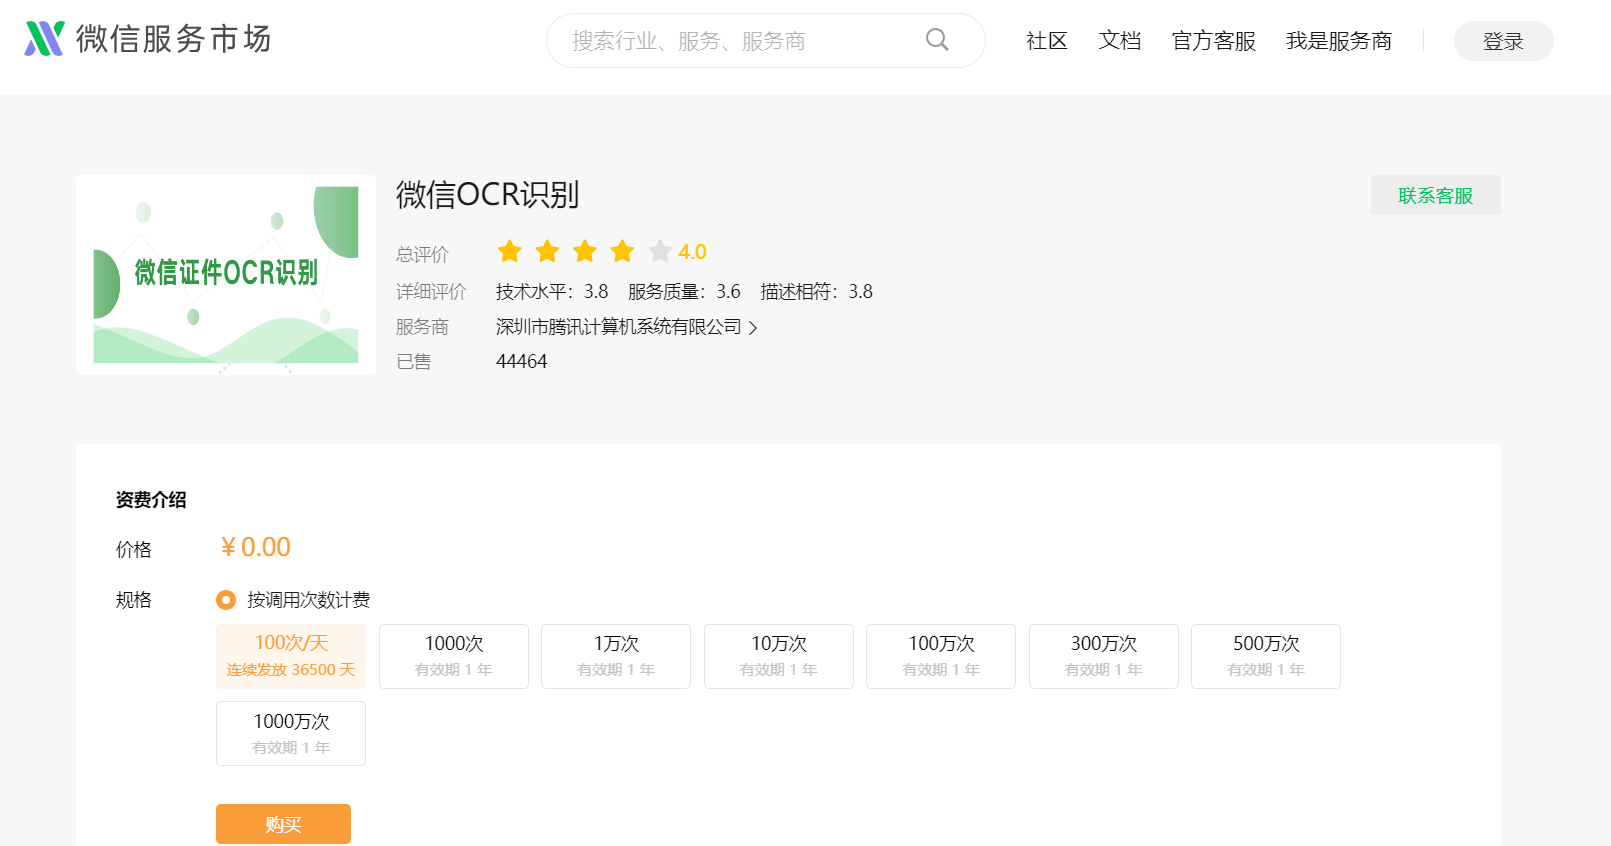
(3)代码接入
1.app.json 文件中添加插件节点配置
"plugins": {
    "ocr-plugin": {
      "version": "3.0.3",
      "provider": "wx4418e3e031e551be"
    }
  },

 2.使用插件的页面的 index.json 添加节点配置

"usingComponents": {
    "ocr-navigator": "plugin://ocr-plugin/ocr-navigator"
  }

3.交互页面 index.wxml 添加配置
示例代码:

 <ocr-navigator bind:onSuccess="ocrSuccess" certificateType="idCard" opposite="{{false}}">
      <button type="primary">身份证正面识别</button>
    </ocr-navigator>
    <ocr-navigator bind:onSuccess="ocrSuccess" certificateType="idCard" opposite="{{true}}">
      <button type="primary">身份证反面识别</button>
    </ocr-navigator>
4.交互ocr成功识别后的代码
示例代码:
ocrSuccess:function(e)
  {
    console.log(e.detail);
  },

技术共进,成长同行——讯飞AI开发者社区
更多推荐
 41
41 0
0- 0


 已为社区贡献3条内容

所有评论(0)