
快速搭建基于Tensorflow-gpu+cuda+cudnn进行深度学习模型训练
本文介绍了TensorFlow环境的搭建流程:1)推荐安装Miniconda并创建Python3.8环境;2)通过conda/pip安装TensorFlow及相关依赖,建议使用清华源加速;3)重点说明CUDA和cuDNN的两种安装方式(命令行/手动下载);4)完成安装后需验证GPU是否可用。作者强调环境配置过程中可能出现版本冲突问题,需要耐心调试。作为人工智能方向研究生,作者欢迎交流讨论,并祝愿读
1.conda环境安装
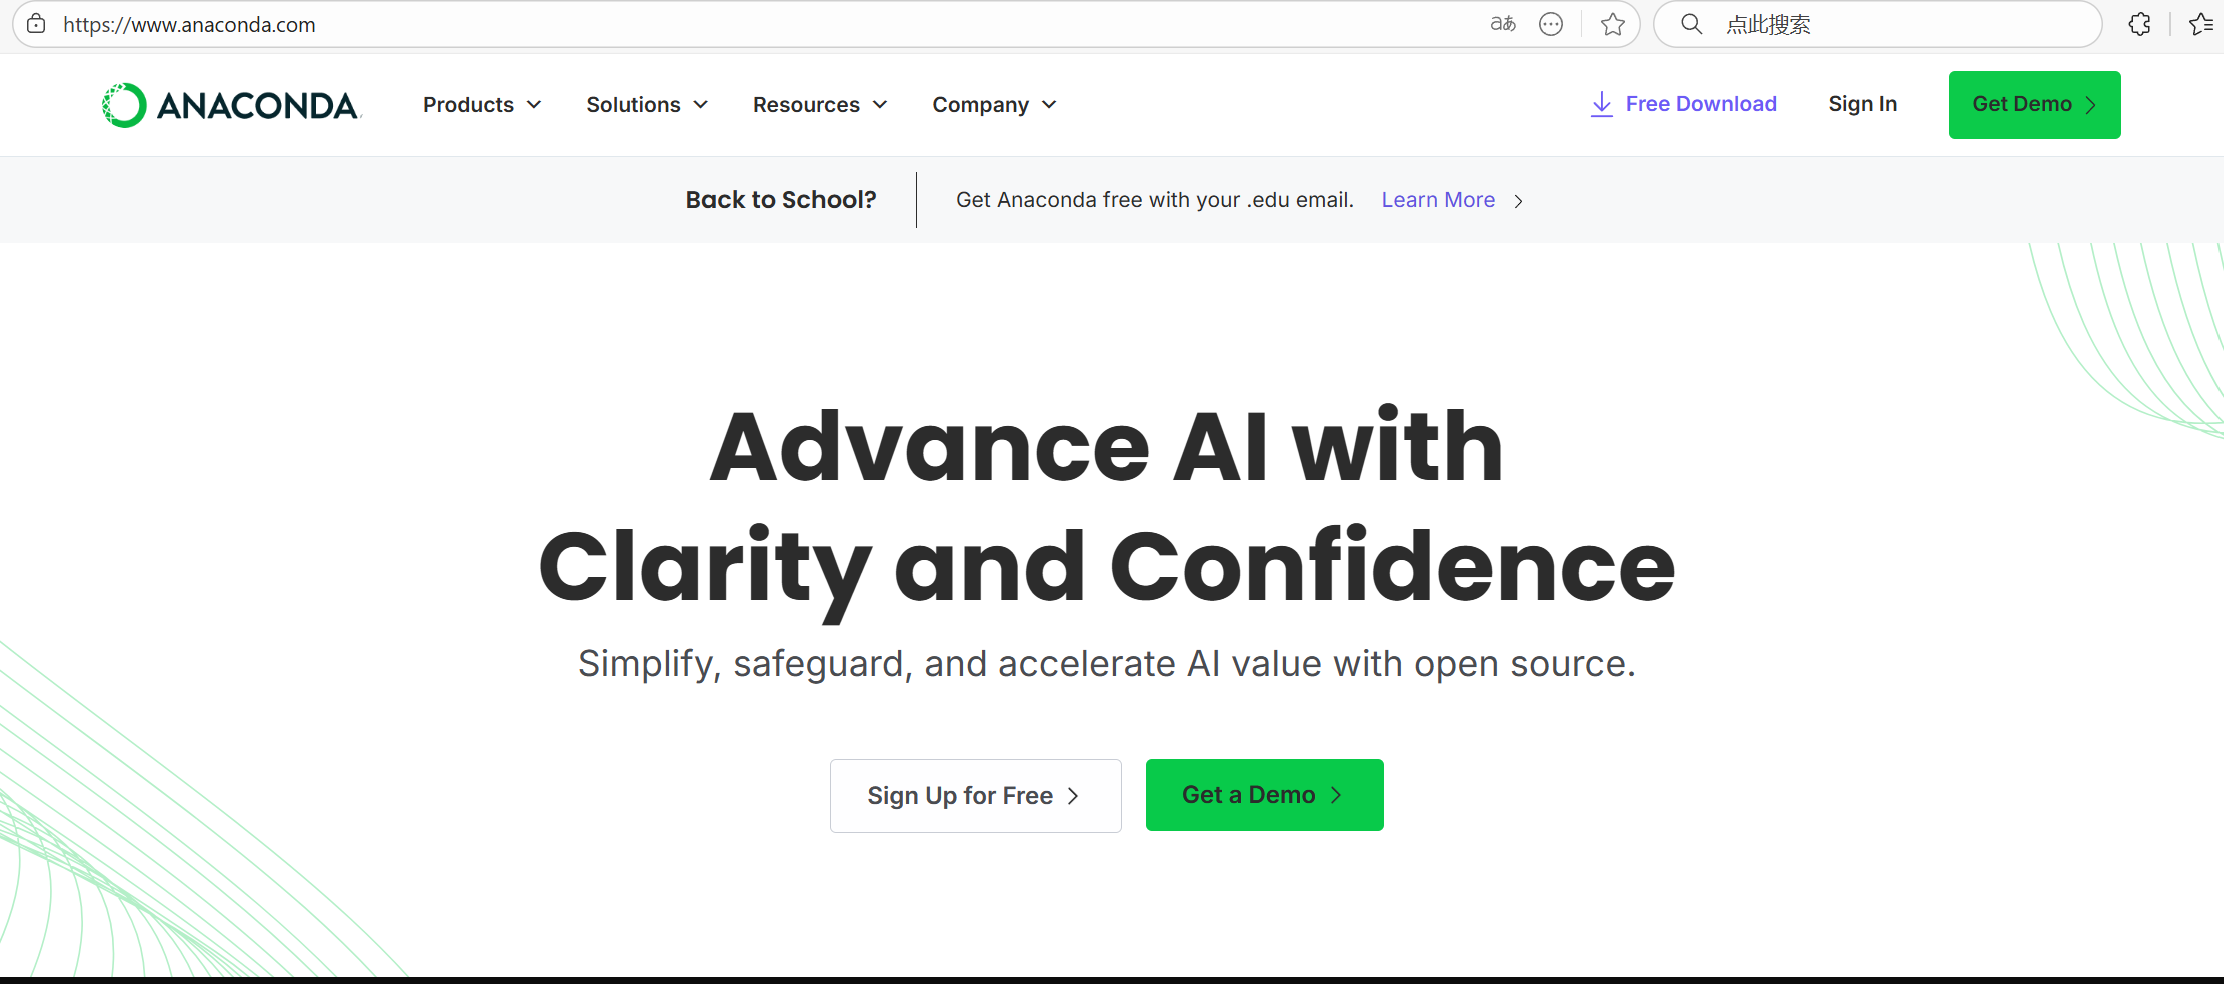
直接去Anaconda官网:https://www.anaconda.com/下载
其中Distribution Installers具有很多已经预装好的科学计算库(方便,但是内存占比比较大)
其中Miniconda Installers只有Python解释器和必要库(推荐,需要什么库自己去下载)
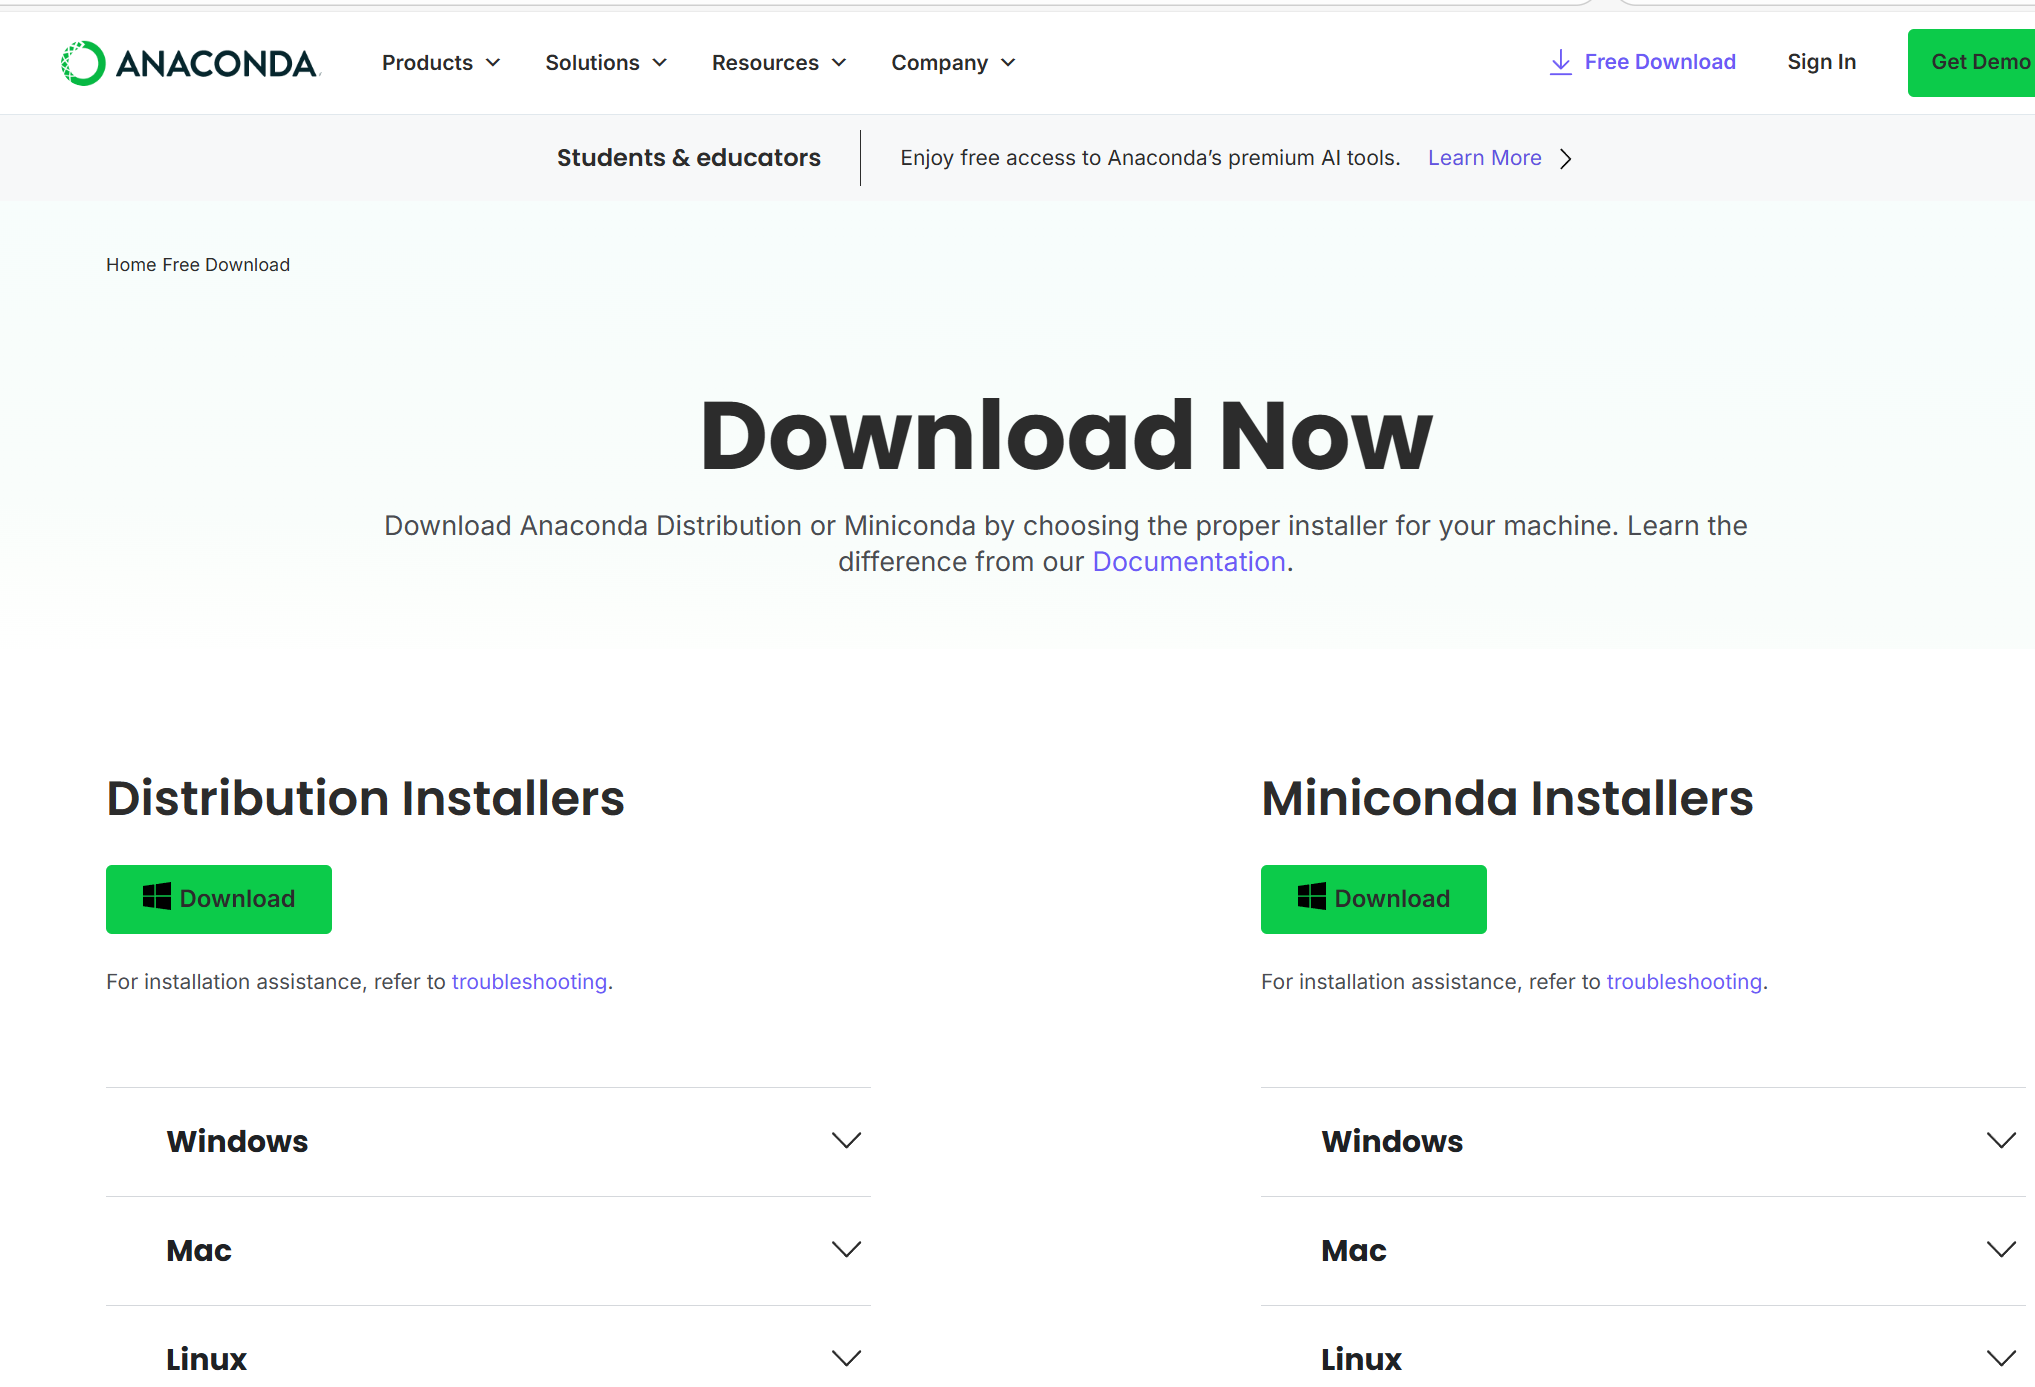
下载好了直接install安装,
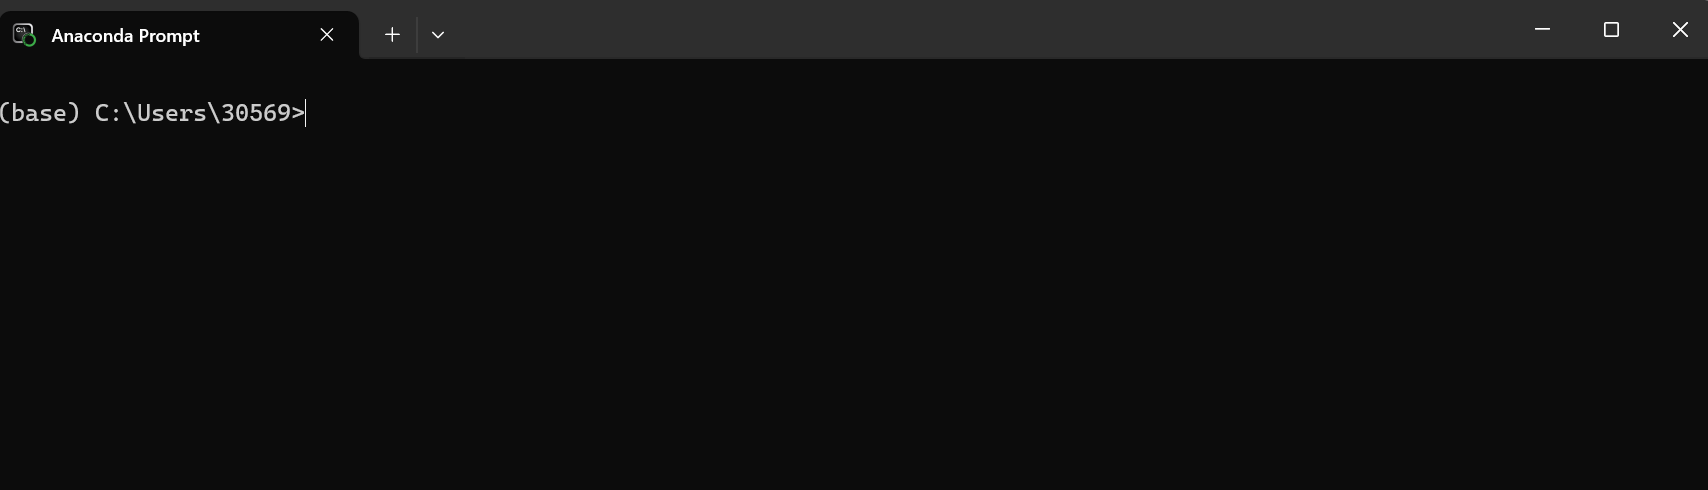
找到conda自带的命令提示符

查看版本号
conda --version
创建新环境(推荐使用Python3.8版本的,比较适配)
conda create -n tf2 python=3.8
激活环境
conda activate tf2查看环境下的包依赖
conda list查看所有环境
conda env list退出环境
conda deactivate
下载包依赖(可以清华源加速:https://pypi.tuna.tsinghua.edu.cn/simple)
pip install numpy -i https://pypi.tuna.tsinghua.edu.cn/simple2.版本配置(Tensorflow官网上有)
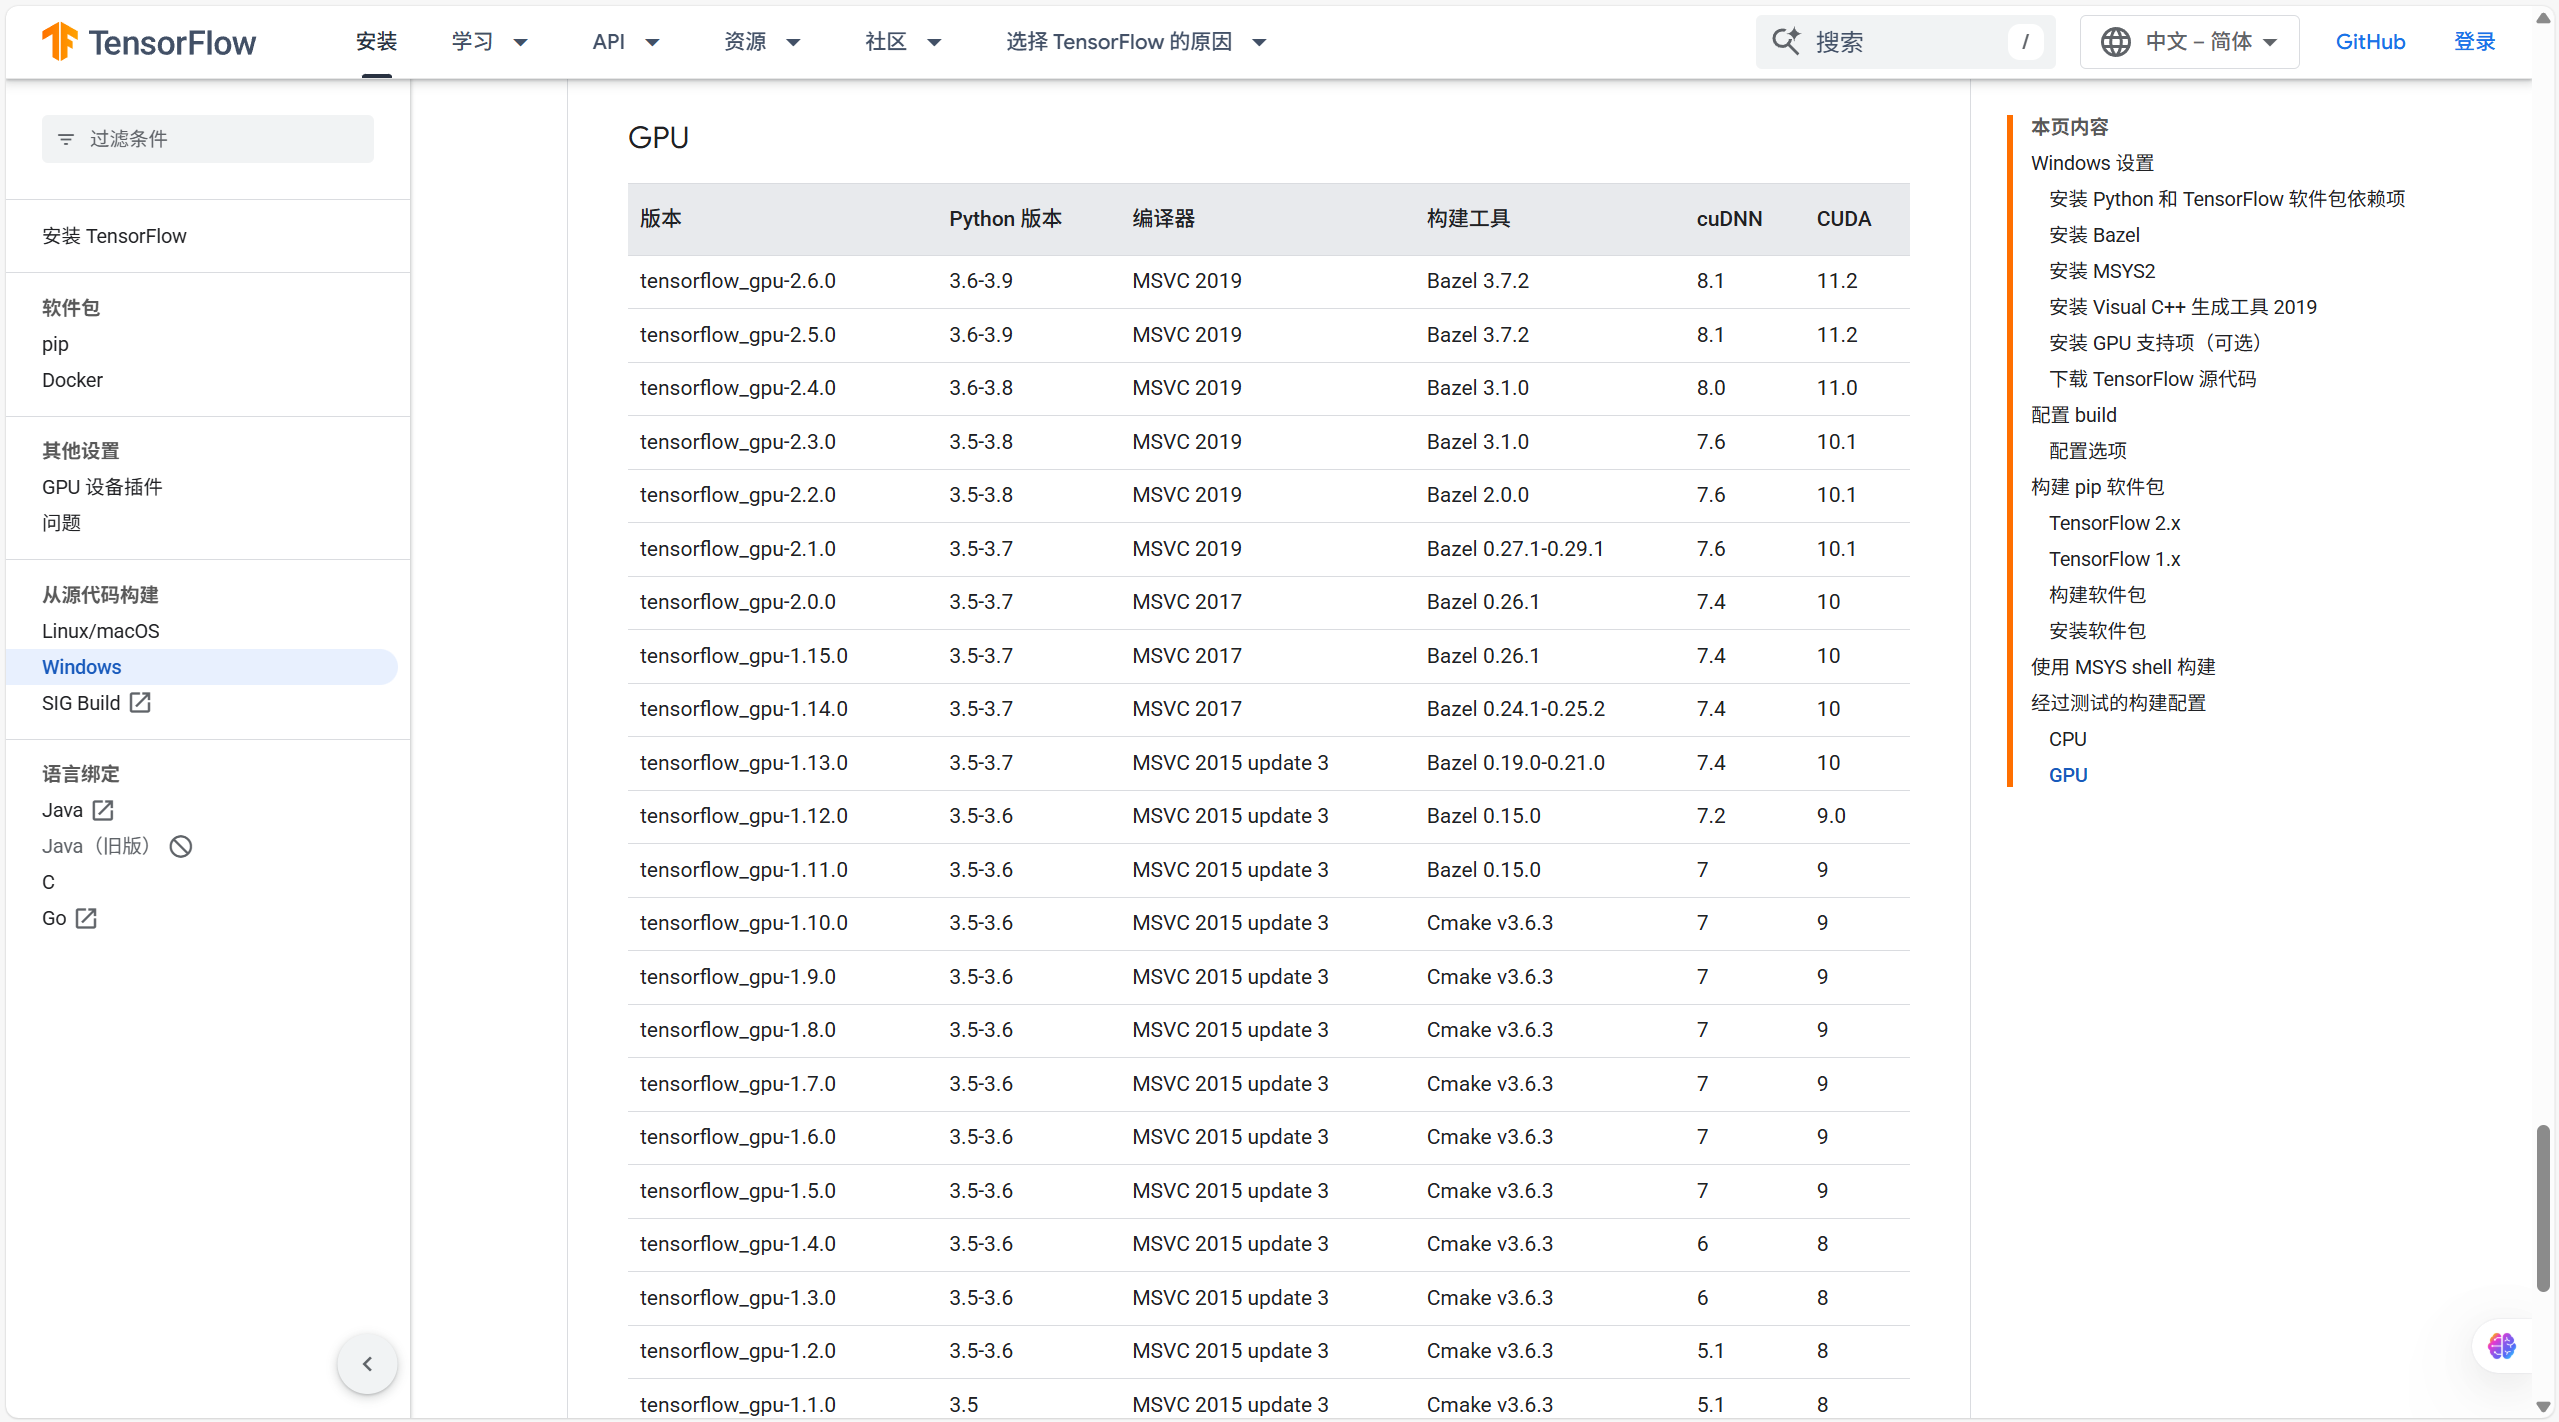
没有适配的就选版本低的(向下可兼容原则)
Tensorflow官网:https://tensorflow.google.cn/install/source_windows?hl=zh-cn
3.cuda下载
1.cuda简便下载(直接使用命令装)
conda search cudatoolkit -c conda-forge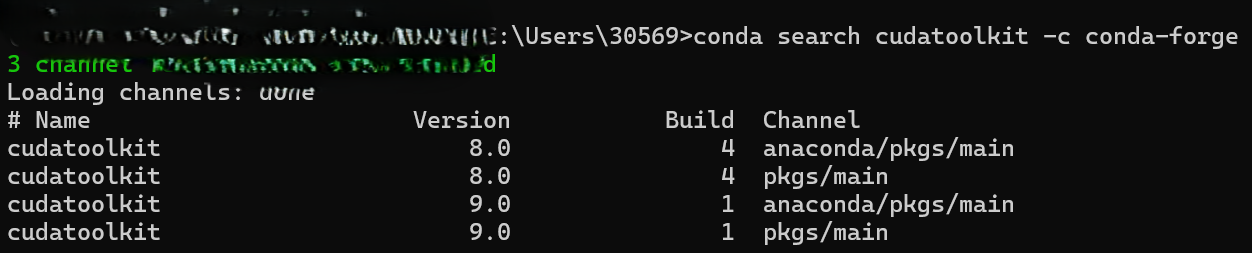
找到适合的版本
conda install cudatoolkit==11.2.0 -c conda-forge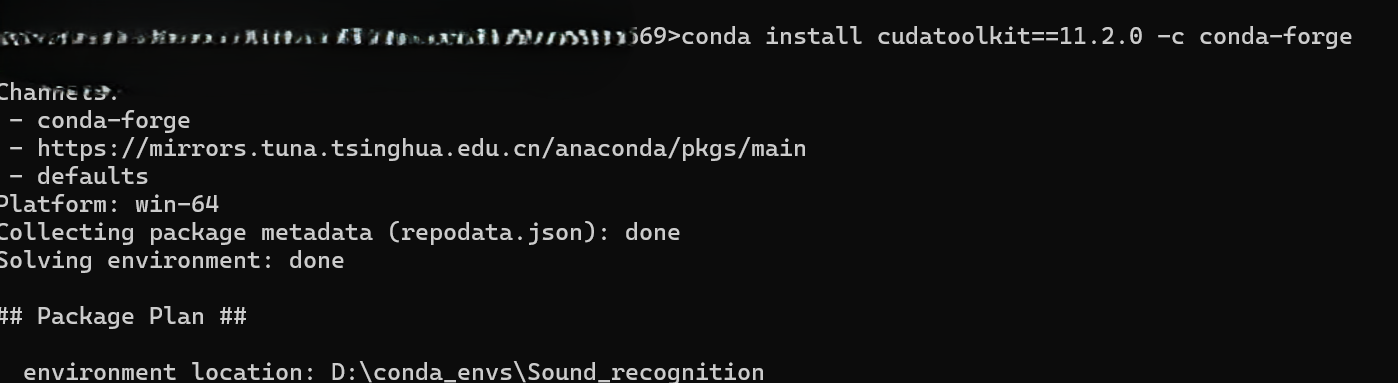
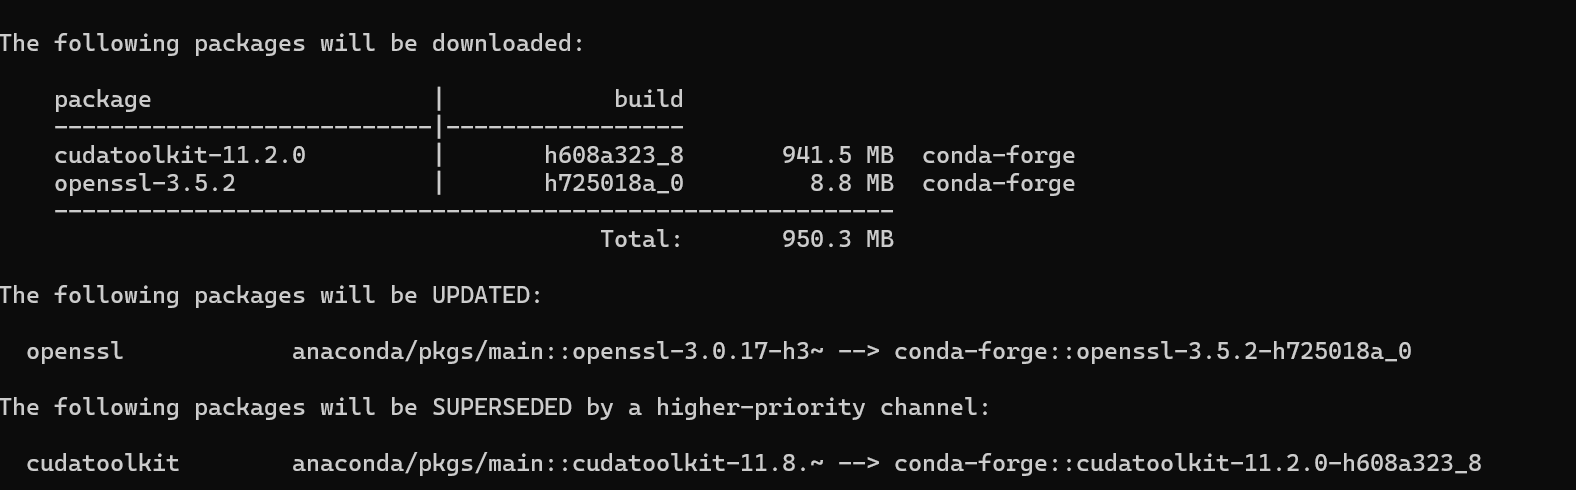

等待完成即可
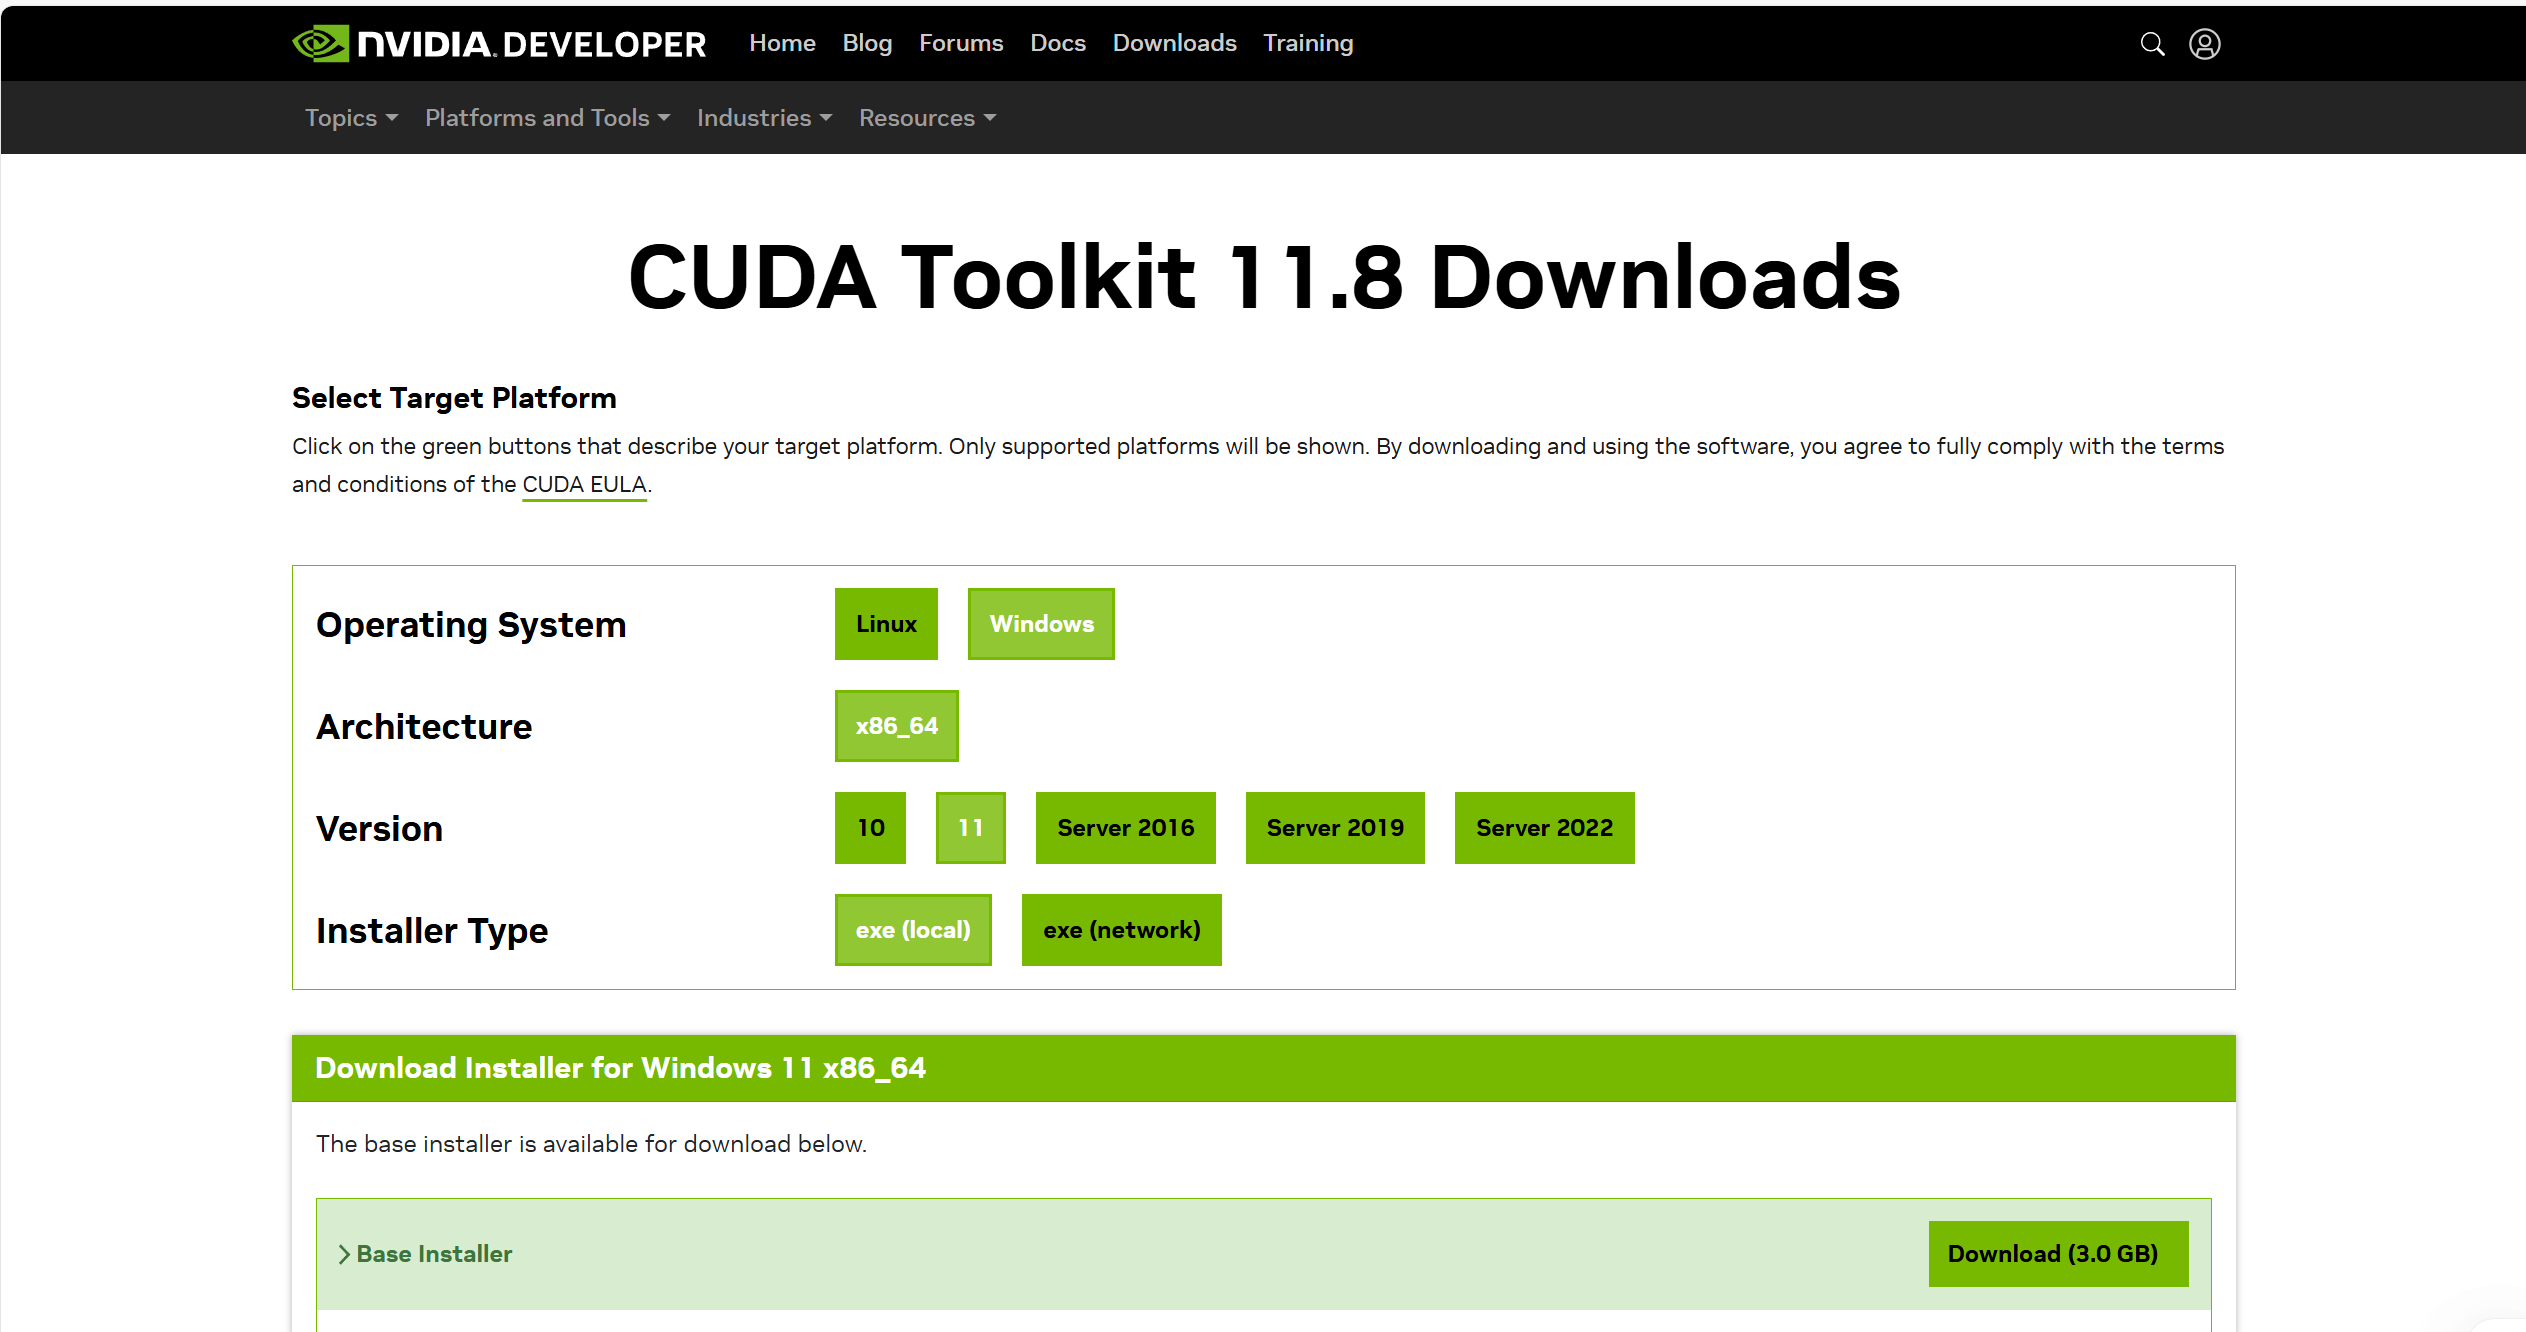
2.官网手动下载(更快)
nvidia官网:https://developer.nvidia.com,下载号就是一个压缩包
在conda环境输入
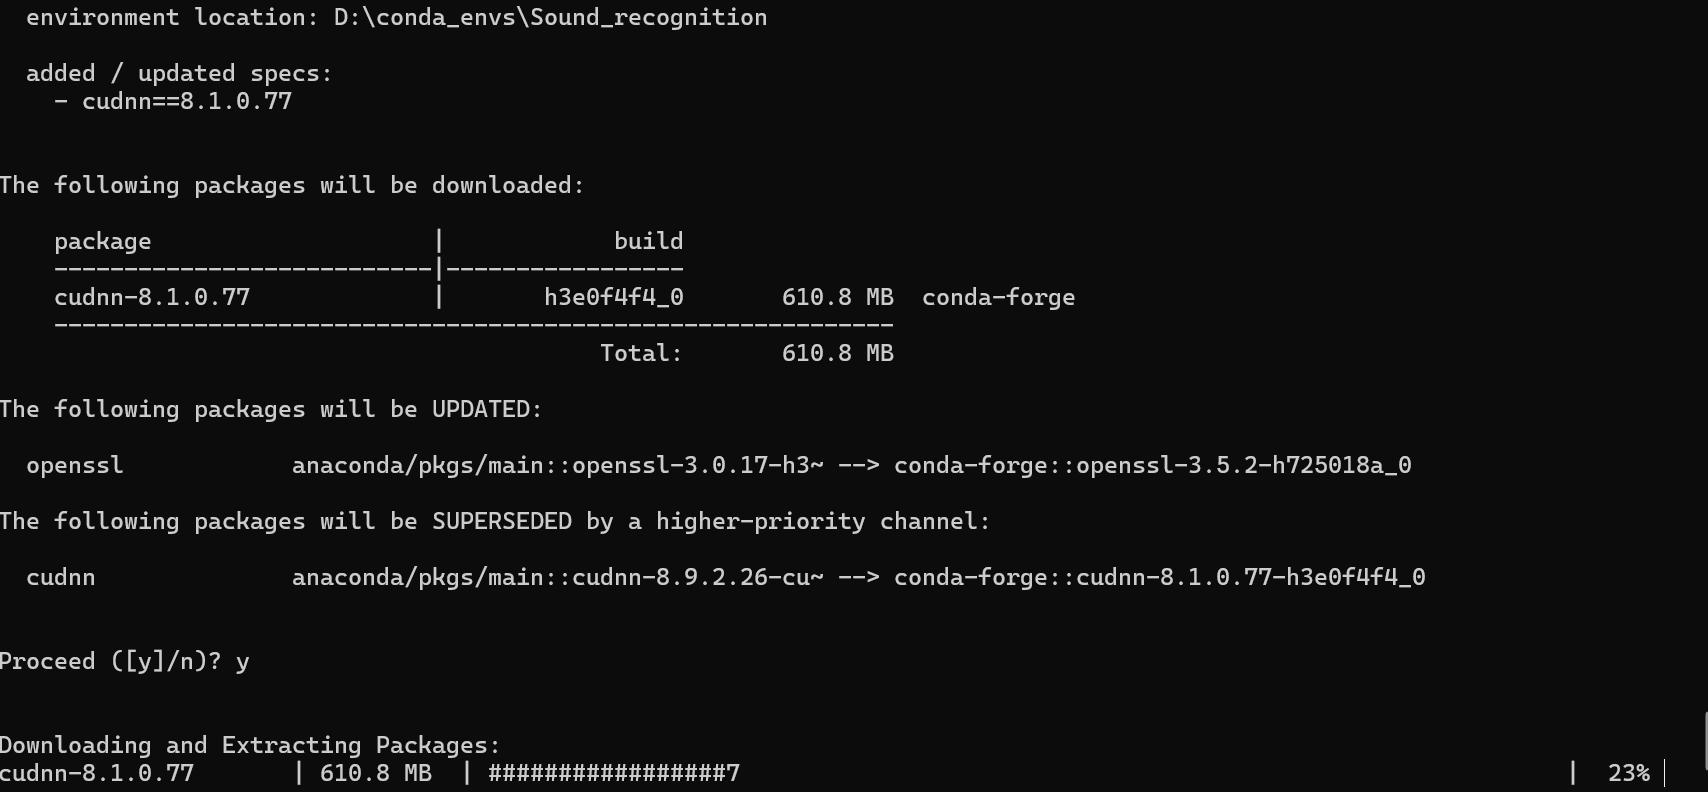
conda install "包名"4.cudnn下载
1.命令行安装
conda search cudnn -c conda-forge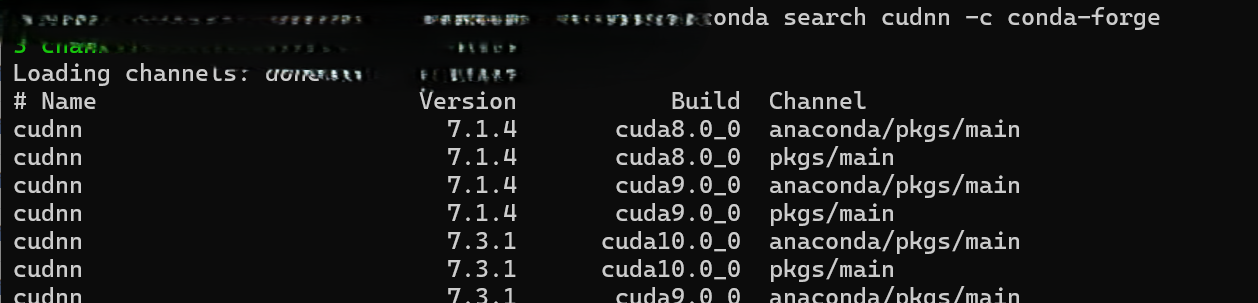
conda install cudnn==8.2.0.77 -c conda-forge
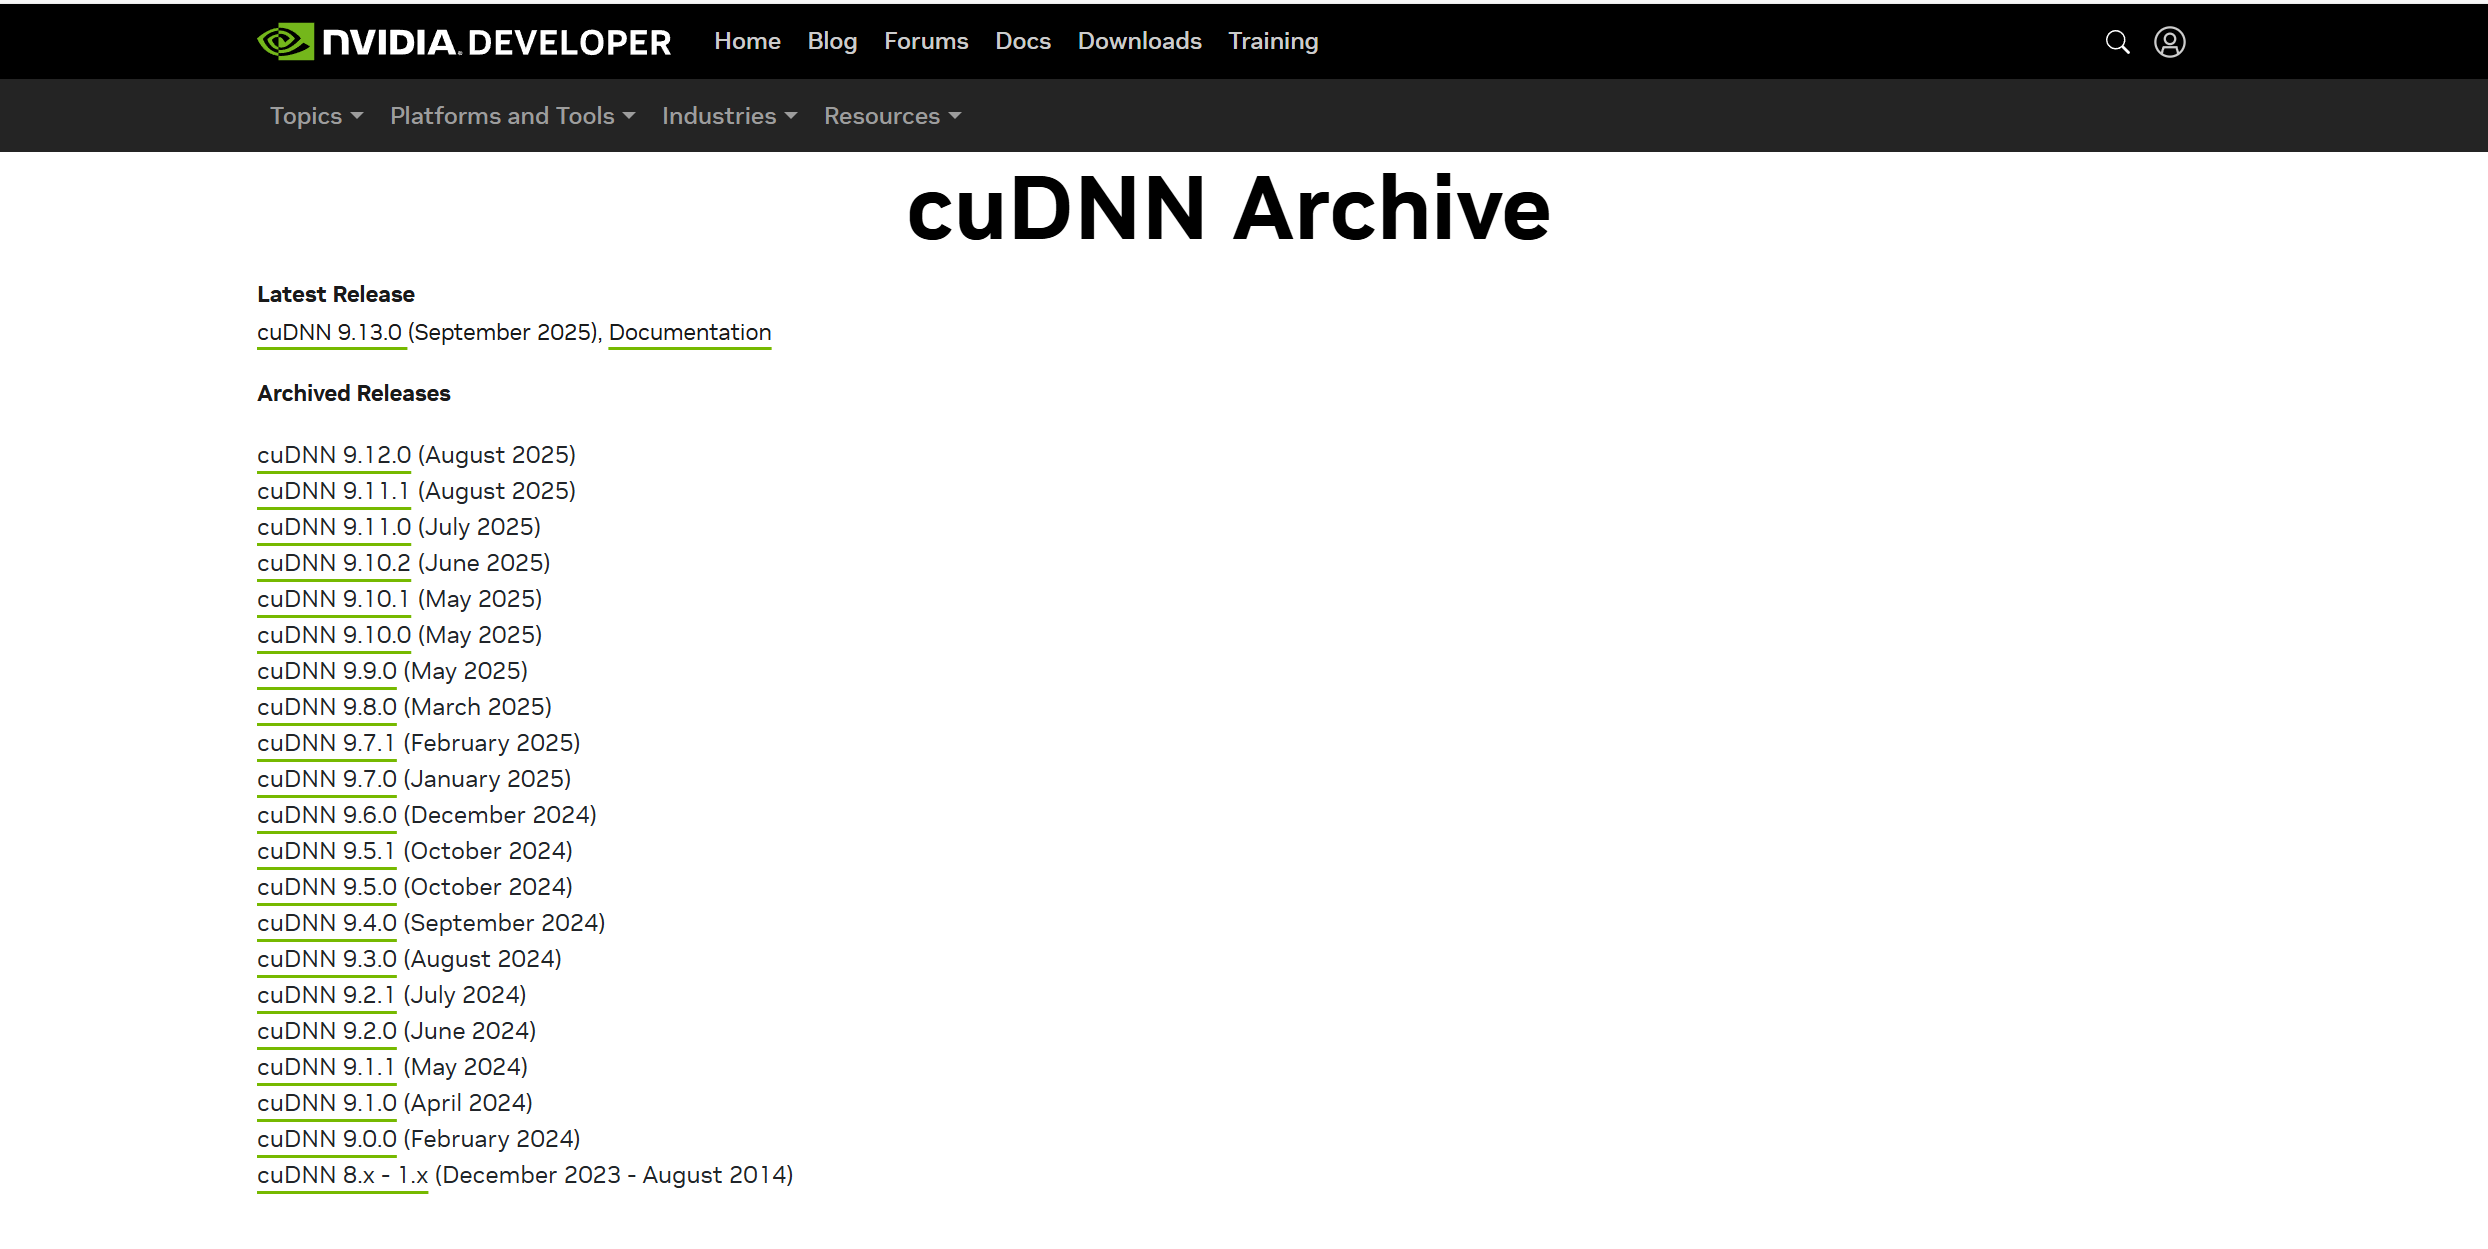
2.手动官网下载(更快)
https://developer.nvidia.com/cudnn-archive
conda install "包名"5.Tensorflow安装
pip install tensorflow==2.13.0 -i https://pypi.tuna.tsinghua.edu.cn/simple
6.验证
输入
python -c "import tensorflow as tf; print('TF Version:', tf.__version__); print('GPUs:', tf.config.list_physical_devices('GPU'))"输出
[PhysicalDevice(name='/physical_device:GPU:0', device_type='GPU')]7.总结
这只是快速搭环境的过程,这个过程完成后若想直接开始训练大模型你应该会出现各种问题。这其中涉及到代码中各种库版本冲突问题,在这个过程中代码会不断报错。这个时候你要耐心。慢慢调整,到你看到代码跑通的时候,真正见识到GPU+CPU协同训练大模型的过程,你会很开心。因为这个时候你才把你本子威力发挥到了最大。笔者为人工智能-声学场景分类研一新生,若各位读者在阅读的过程中有各种疑虑或有相关方向、交叉方向的研究兴趣建议,欢迎各位交流。
祝各位读者在自己热爱的领域大有可为,码途顺利。
2025晚于重庆

技术共进,成长同行——讯飞AI开发者社区
更多推荐

 18
18 0
0- 0


 已为社区贡献1条内容

所有评论(0)