
Springboot 3 上传图片,并返回路径让前端显示图片
有的小伙伴在测试的时候,可能会出现打不开的情况,那你检查一下本地路径地址,编写前端进行测试,这里采用Apifox模拟图片上传,并在浏览器中访问打开。,在其addResourceHandlers方法中设置资源映射。用来接收前端提交的图片文件,并把图片保存到服务器的指定位置。2.接收前端传递过来的图片并保存到本地指定位置。3.前端(浏览器)可以通过url访问上传过的图片。1.利用SpringBoot写
Springboot 3 上传图片,并返回路径让前端显示图片
步骤:
1.利用SpringBoot写一个图片上传接口
2.接收前端传递过来的图片并保存到本地指定位置。
3.前端(浏览器)可以通过url访问上传过的图片
创建项目:
pom.xml 主要依赖
xml
代码解读
复制代码
<properties> <java.version>17</java.version> </properties> <dependencies> <dependency> <groupId>org.springframework.boot</groupId> <artifactId>spring-boot-starter-web</artifactId> </dependency> <dependency> <groupId>org.projectlombok</groupId> <artifactId>lombok</artifactId> <optional>true</optional> </dependency> </dependencies>
application.yml 配置一个图片上传地址,方便后续更改路径
yaml
代码解读
复制代码
upload: # 图片保存路径 path: E:\img
写一个FileController用来接收前端提交的图片文件,并把图片保存到服务器的指定位置
less
代码解读
复制代码
/** * @author harry * @公众号 Harry技术 */ @RestController @RequestMapping("/upload") public class FileController { @Value("${upload.path}") private String uploadPath; @PostMapping public String uploadFile(@RequestParam("file") MultipartFile file) { try { if (file.isEmpty()) { return "文件为空,请重新选择!"; } // 上传的图片 File path = new File(uploadPath); if (!path.exists()) { // 创建完整的目录 path.mkdirs(); } // 获取文件原始名(包含后缀名) String originalName = file.getOriginalFilename(); // 获取文件名(不包括后缀) String prefixName = originalName.substring(0, originalName.lastIndexOf(".")); // 获取文件后缀 (包括.) 例如:.png String suffixName = originalName.substring(originalName.lastIndexOf(".")); // 这是处理后的新文件名 String fileName; if (originalName.contains(".")) { // 示例:avatar.123.png,经过处理后得到:avatar.123_1661136943533.png fileName = prefixName + "_" + System.currentTimeMillis() + suffixName; } else { return "上传图片格式错误,请重新选择!"; } String savePath = path.getPath() + File.separator + fileName; File saveFile = new File(savePath); // 将上传的文件复制到指定目录 FileCopyUtils.copy(file.getBytes(), saveFile); // 返回给前端的图片保存路径;前台可以根据返回的路径拼接完整地址,即可在浏览器上预览该图片 String dest = "images" + File.separator + fileName; if (dest.contains("\")) { dest = dest.replace("\", "/"); } return dest; } catch (IOException e) { return e.getMessage(); } } }
配置WebMvcConfigurer,在其addResourceHandlers方法中设置资源映射
typescript
代码解读
复制代码
/** * @author harry * @公众号 Harry技术 */ @Configuration public class InterceptorConfig implements WebMvcConfigurer { @Value("${upload.path}") private String uploadPath; @Override public void addResourceHandlers(ResourceHandlerRegistry registry) { // images 是访问图片资源的前缀,比如要访问test1.png // 则全路径为:http://localhost:端口号/images/test1.png registry.addResourceHandler("/images/**") //此处为设置服务端存储图片的路径(前端上传到后台的图片保存位置) .addResourceLocations("file:/" + uploadPath); } }
编写前端进行测试,这里采用Apifox模拟图片上传,并在浏览器中访问打开
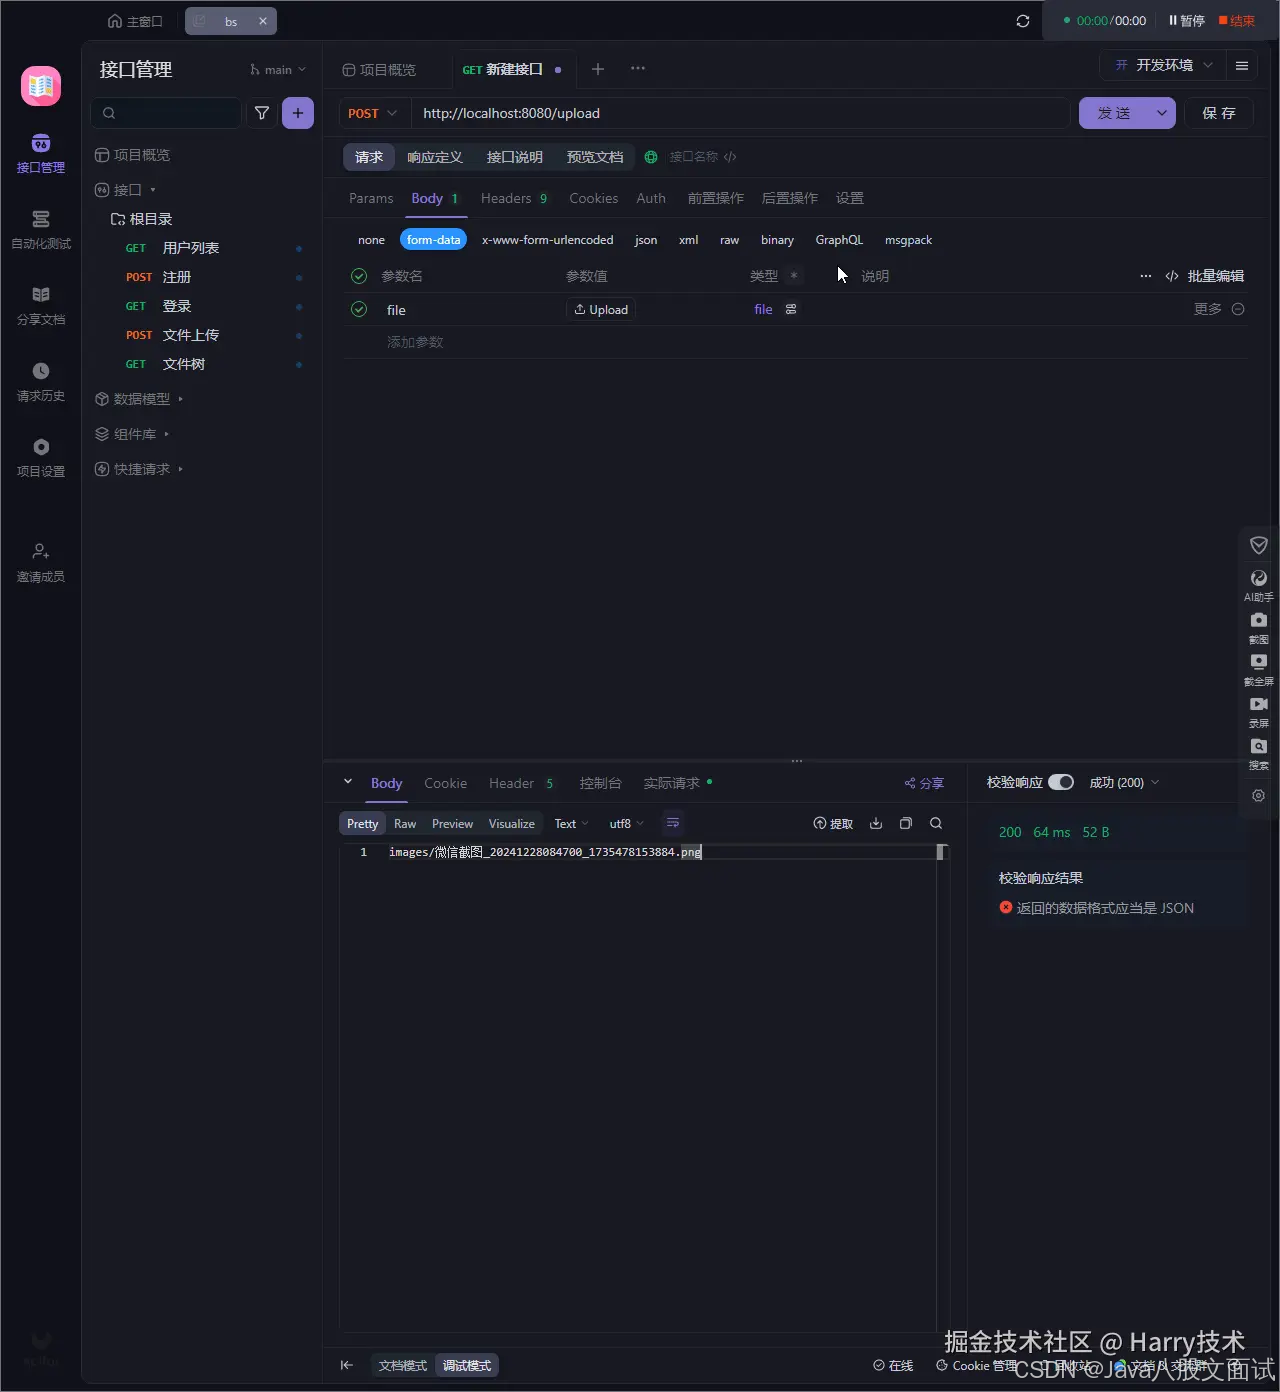
有的小伙伴在测试的时候,可能会出现打不开的情况,那你检查一下本地路径地址,不要有中文目录!!!

技术共进,成长同行——讯飞AI开发者社区
更多推荐

 3
3 0
0- 0


 已为社区贡献5条内容

所有评论(0)